Christmas Snowflake: Free Crochet Pattern
If you love creating delicate, festive-themed ornaments during the holidays, this free Christmas Snowflake Crochet Pattern should be your first pick this season! Use this beautiful project to create festive tree ornaments, keychain charms, wall hangings, or even beautiful gift toppers. The best part? It takes only a few minutes to make.
Let’s grab our hooks and add some handmade magic to your Christmas decor!
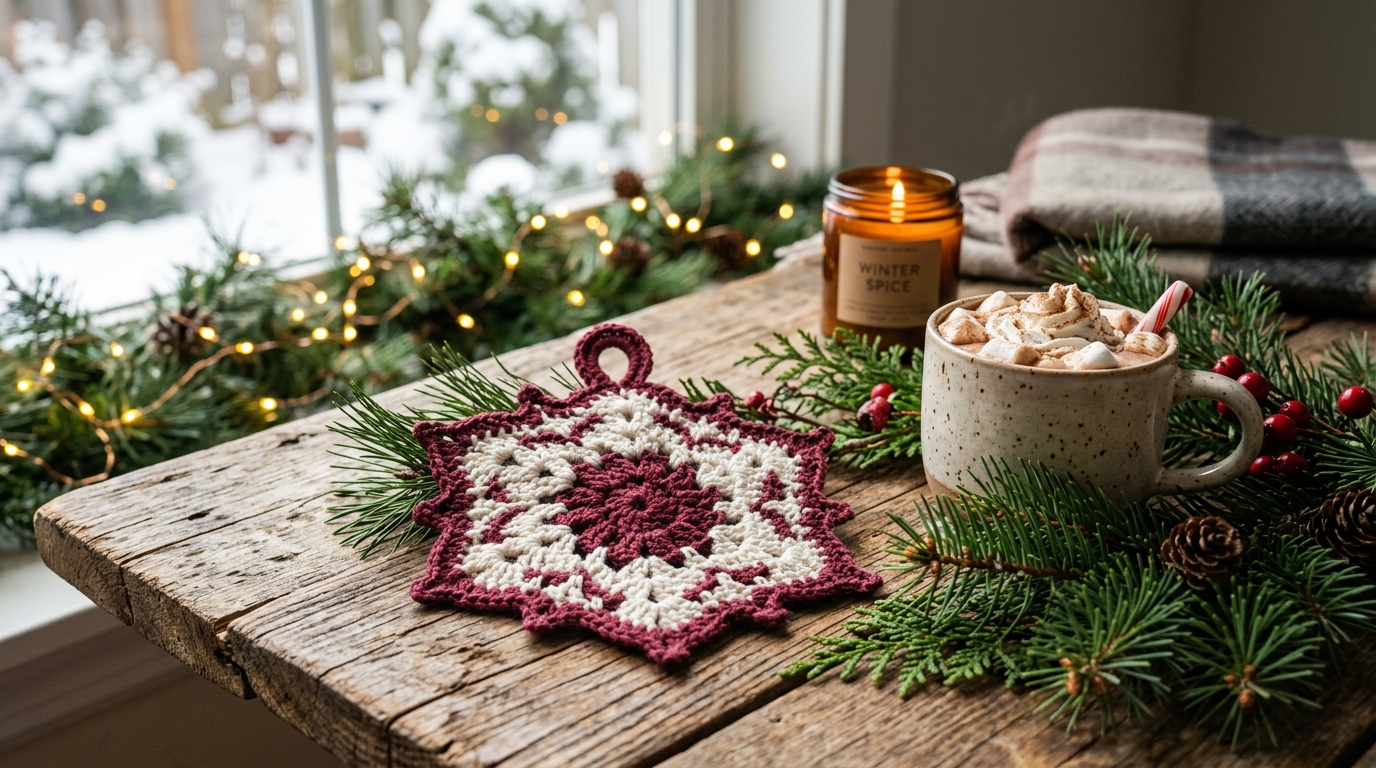
Skill Level & Details
- Skill Level: Beginner to Intermediate
- Terminology: US Terms
- Finished Size: 8–12 cm (3–4.75 in) across (depending on your yarn and tension)
- Gauge: Not essential, just maintain even tension so your snowflake lies flat!
Materials Needed
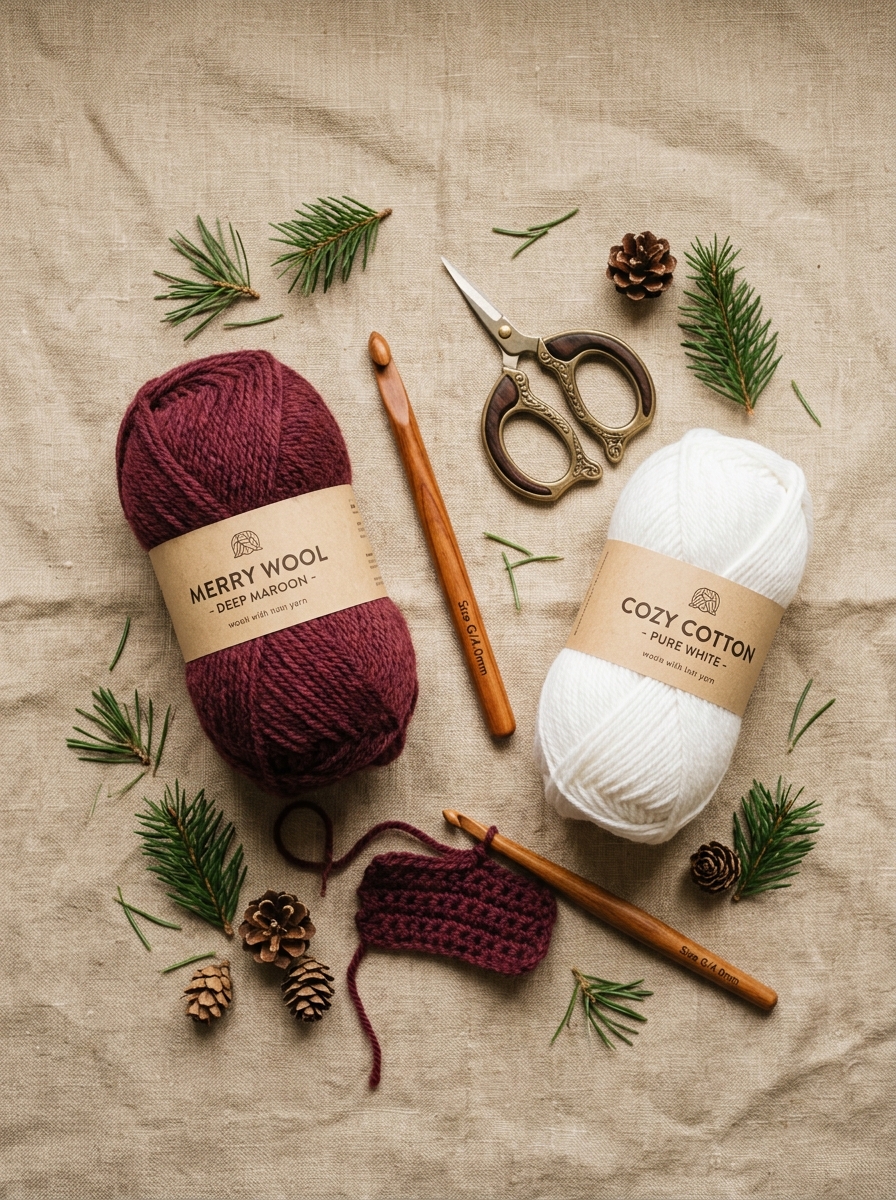
- Yarn: Small amounts of White and Maroon yarn (or any contrasting festive colors!)
- Crochet Hook: Suitable for your chosen yarn weight
- Notions: Scissors, Yarn needle
- Optional: Small amount of craft or fabric glue (for stiffness/blocking)
Stitches and Abbreviations (US Terms)
- MR: Magic Ring
- ch: Chain
- dc: Double Crochet
- sl st: Slip Stitch
- st: Stitch
- sp: Space
- rnd: Round
Free Snowflake Pattern Instructions

Step 1: Center of the Snowflake
Begin with the first color (White).
Round 1: Make a Magic Ring.
Ch 5. (This counts as the first dc + ch-2 space.)
Work 1 dc into the Magic Ring. Ch 2.
Continue around the ring, repeating [1 dc, ch 2].
Work 6 dc total, with each dc separated by a ch-2 space.
Pull the Magic Ring closed. Join with a sl st into the 3rd chain of the beginning ch-5.
You should now have 6 dc and 6 chain-2 spaces around the center.
Step 2: Build the Six Directions
Change to the second color (Maroon).
Round 2: Sl st across the next stitches/spaces to the next ch-2 space.
Ch 3. Work 3 dc into the same ch-2 space. Ch 2.
Work 4 dc into the same ch-2 space. Ch 2.
Continue working the same arrangement around the center: Repeat this construction in each of the 6 ch-2 spaces.
Join with a sl st to close the round.
You should now have 6 repeating sections around the center.
Step 3: Create the Snowflake Points
Work around each of the six sections created in Round 2.
For each point:
Ch 3. Sl st into the next gap.
Ch 5. Sl st into the same gap.
Ch 7. Sl st into the same gap.
Ch 5. Sl st into the same gap.
Ch 3. Sl st into the first dc of the next group.
This creates the characteristic 5-chain / 7-chain / 5-chain point visible in the finished snowflake.
Step 4: Finishing the Points
Sl st across the remaining stitches of the group until you reach the next gap.
Repeat the complete point sequence (Ch 5 → sl st → ch 7 → sl st → ch 5 → sl st) for all six points.
At the end of the round, join with a sl st.
Fasten off and secure the yarn.
Finishing & Shaping
- Fasten off all yarn ends. Use a yarn needle to weave the loose ends securely into the back of the work.
- Gently stretch the snowflake into shape, arranging all 6 points evenly. Gently flatten the snowflake with your fingers.
- If necessary, lightly block the snowflake so that it lies flat.
- Optional: Apply a very small amount of fabric glue to the back for extra stiffness. Allow the piece to dry completely before handling.
Your crochet snowflake is now ready to use as a Christmas tree ornament, garland, gift topper, or winter-themed home decor piece!