Flippy the Turtle: Cute Amigurumi Crochet Free Pattern
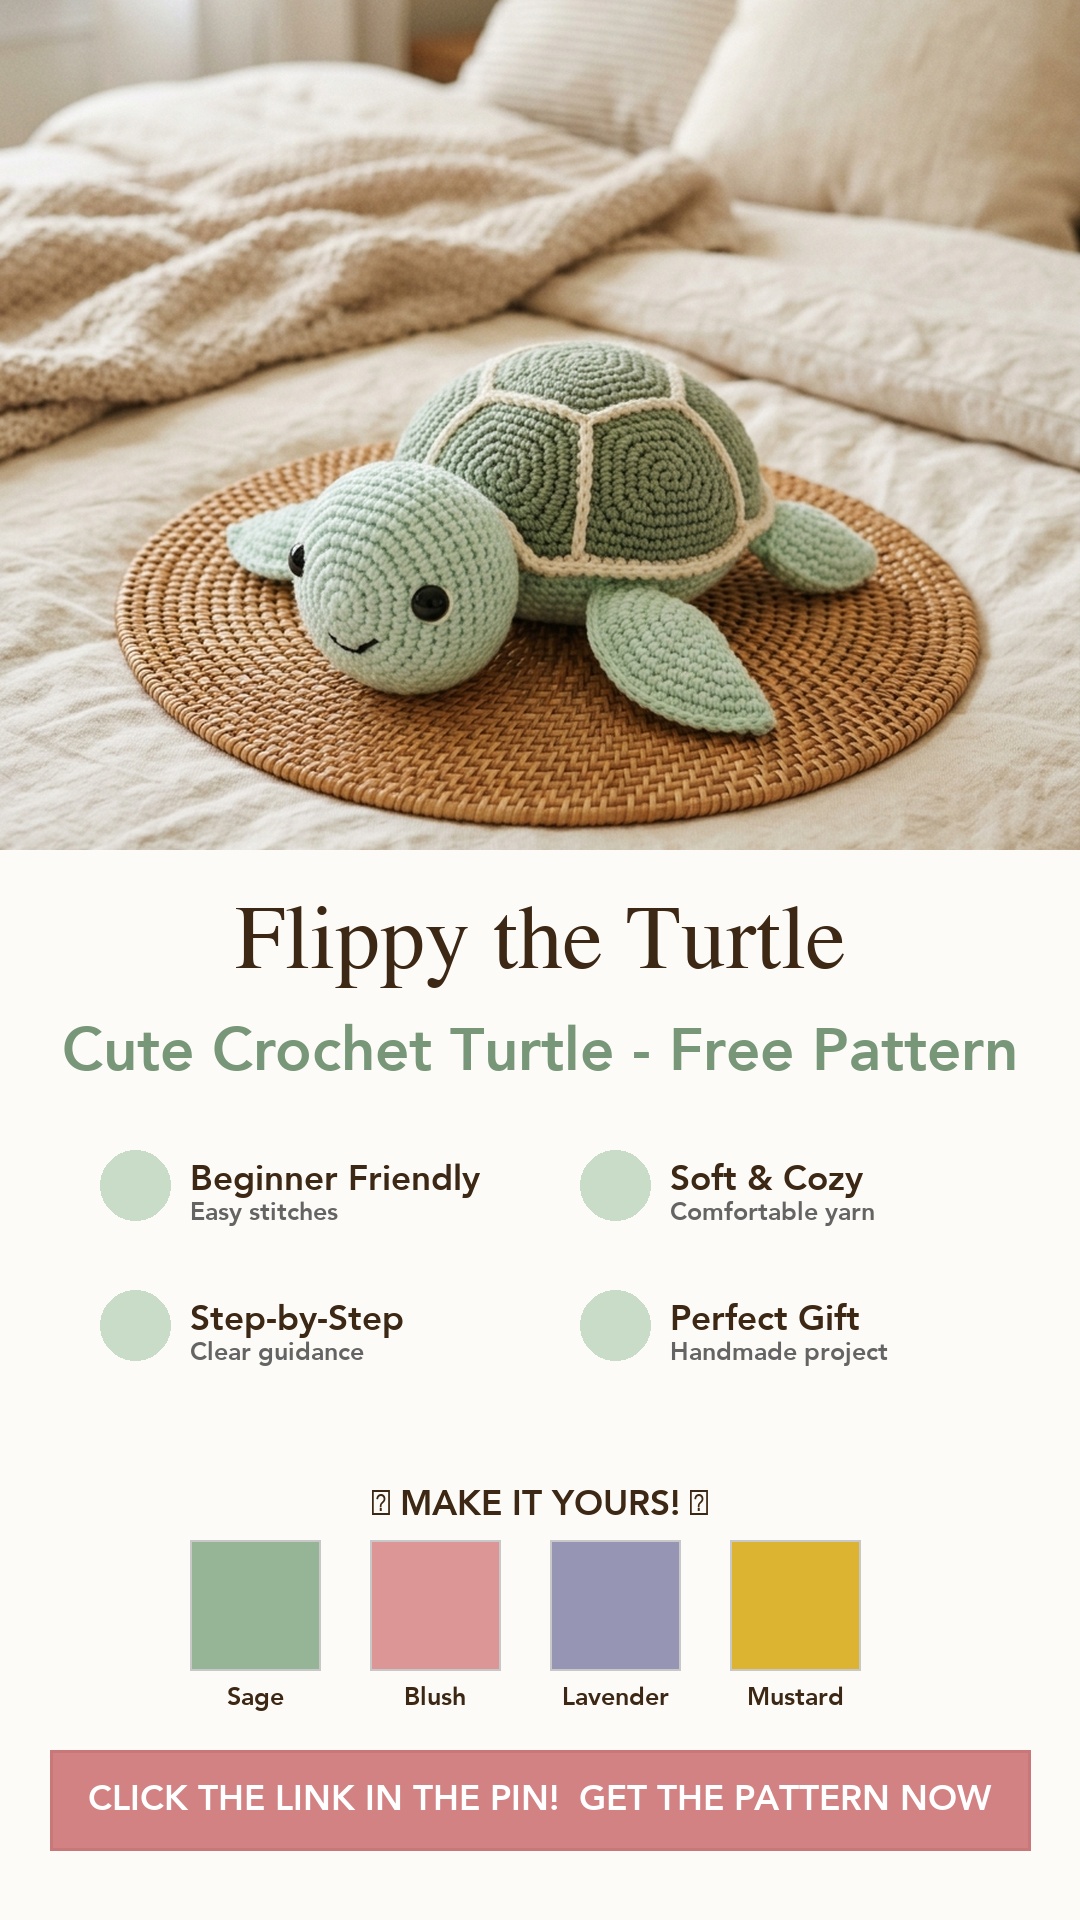
If you’re looking for the perfect handmade gift or just a cute companion for your desk, look no further than Flippy the Turtle! This adorable amigurumi crochet pattern is beginner-friendly, works up quickly, and is incredibly soft and squishy. Whether you’re making it for a baby shower or a craft fair, Flippy is guaranteed to bring smiles.
Let’s grab our yarn and start bringing Flippy to life!
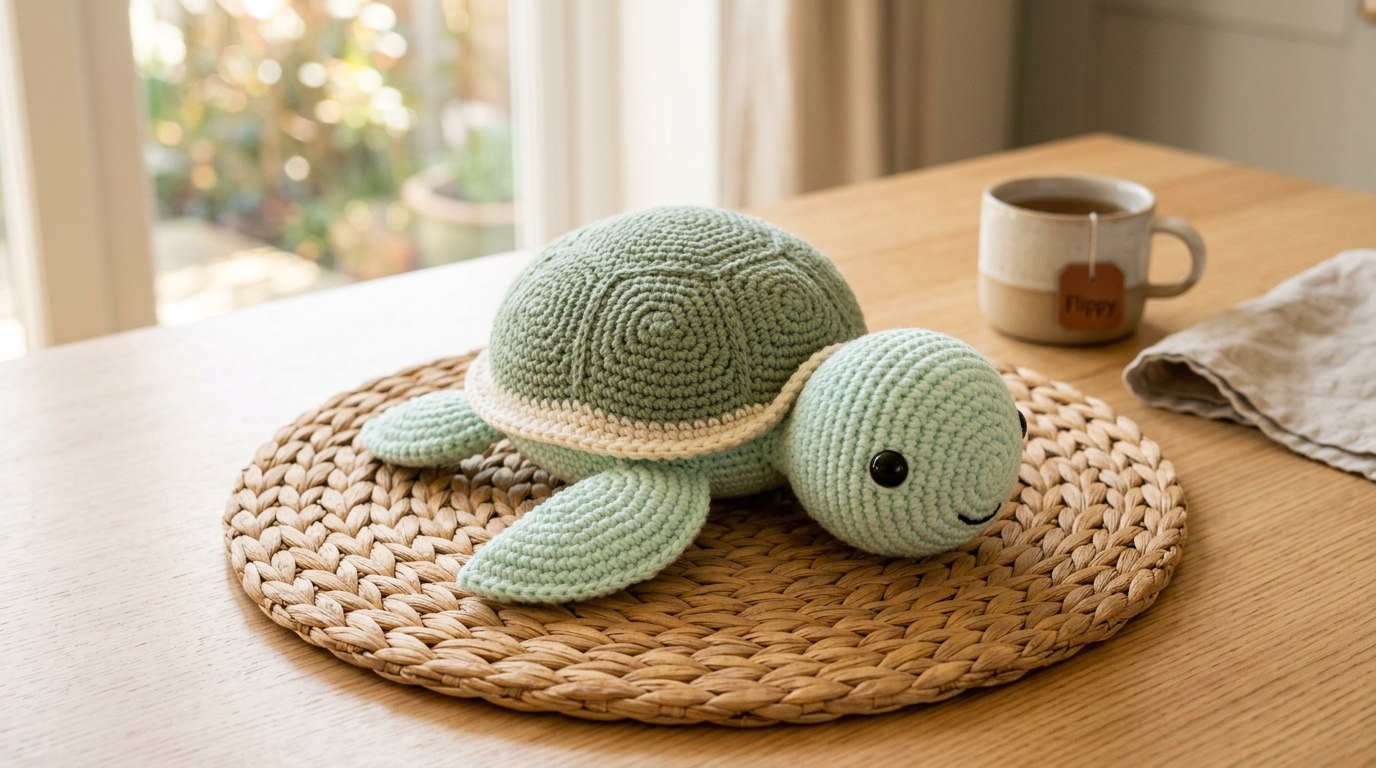
Why You’ll Love This Pattern
- Beginner-Friendly: Uses basic stitches like single crochet and simple increases/decreases.
- Quick Make: You can easily finish Flippy in a single weekend.
- Highly Customizable: Swap out the shell colors to make a whole family of colorful turtles!
Materials Needed
To make your very own Flippy the Turtle, you’ll need a few basic amigurumi supplies:
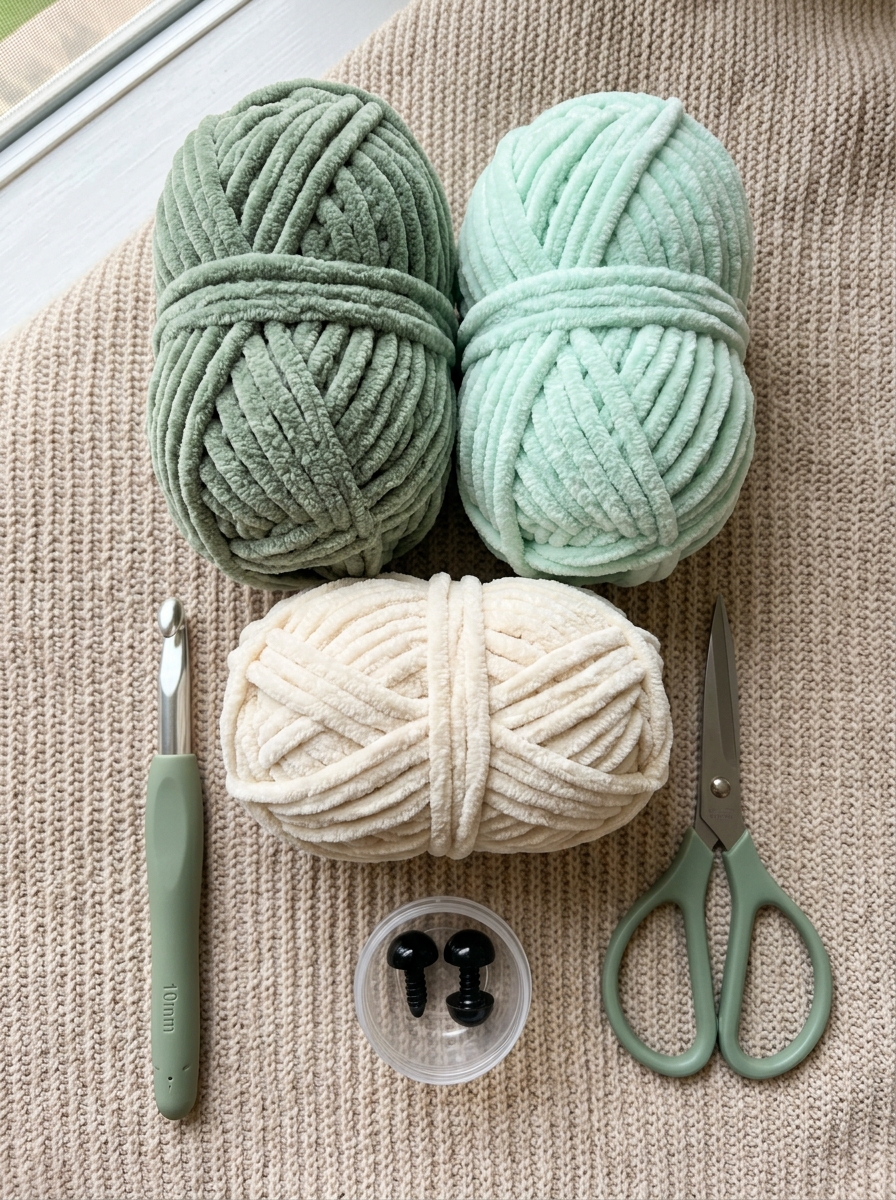
- Yarn: Chunky/Bulky weight yarn (Size 5 or 6). We recommend a soft chenille or velvet yarn for maximum coziness. You’ll need:
- Sage Green (for the shell)
- Soft Mint or Light Green (for the head, legs, and tail)
- Cream or White (for the shell border and belly)
- Crochet Hook: 4.5mm or 5.0mm ergonomic hook (check your yarn label for best fit, but size down for tight amigurumi stitches).
- Safety Eyes: 12mm or 14mm black safety eyes.
- Stuffing: High-quality polyester fiberfill.
- Notions: Yarn needle, stitch markers, and a small amount of black embroidery floss for the smile.
Abbreviations (US Terms)
- MR: Magic Ring
- ch: chain
- sc: single crochet
- inc: increase (2 sc in same stitch)
- dec: invisible decrease (sc 2 together)
- sl st: slip stitch
- st(s): stitch(es)
- FO: Fasten off
Flippy the Turtle Free Pattern
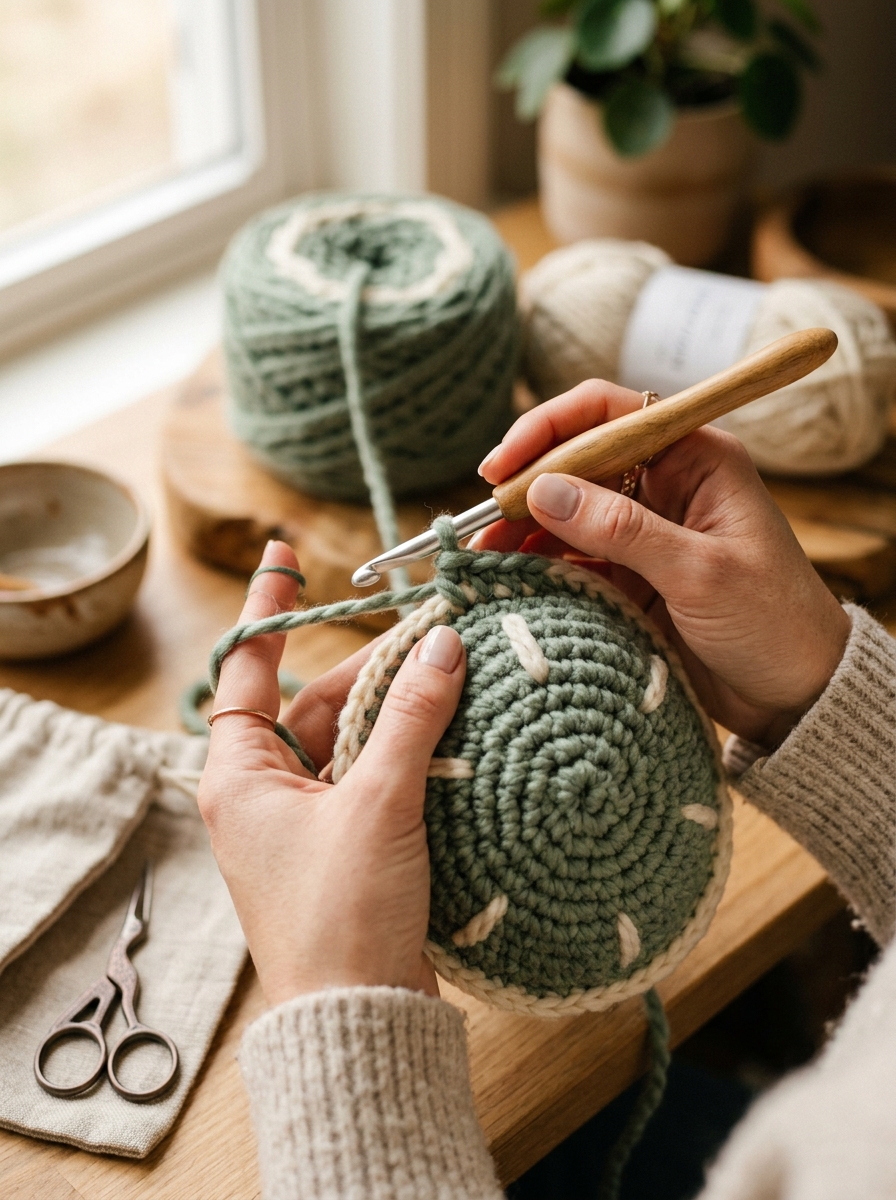
1. The Shell (Use Sage Green)
Round 1: 6 sc in MR (6)
Round 2: 6 inc (12)
Round 3: [1 sc, inc] x 6 (18)
Round 4: [2 sc, inc] x 6 (24)
Round 5: [3 sc, inc] x 6 (30)
Round 6: [4 sc, inc] x 6 (36)
Round 7: [5 sc, inc] x 6 (42)
Round 8: [6 sc, inc] x 6 (48)
Rounds 9-12: sc around (48).
Switch to Cream yarn for the border.
Round 13: [In Back Loops Only] sc around (48). sl st and FO, leaving a long tail for sewing.
2. The Belly (Use Cream)
Round 1: 6 sc in MR (6)
Round 2: 6 inc (12)
Round 3: [1 sc, inc] x 6 (18)
Round 4: [2 sc, inc] x 6 (24)
Round 5: [3 sc, inc] x 6 (30)
Round 6: [4 sc, inc] x 6 (36)
Round 7: [5 sc, inc] x 6 (42)
Round 8: [6 sc, inc] x 6 (48). sl st and FO. Weave in ends.
3. The Head (Use Light Green)
Round 1: 6 sc in MR (6)
Round 2: 6 inc (12)
Round 3: [1 sc, inc] x 6 (18)
Round 4: [2 sc, inc] x 6 (24)
Round 5: [3 sc, inc] x 6 (30)
Rounds 6-10: sc around (30)
Insert safety eyes between rounds 7 and 8, about 6 stitches apart. Embroider a little smile between the eyes.
Round 11: [3 sc, dec] x 6 (24)
Round 12: [2 sc, dec] x 6 (18). Stuff the head firmly.
Round 13: [1 sc, dec] x 6 (12). FO, leaving a tail for sewing.
4. Legs & Flippers (Make 4, Use Light Green)
Round 1: 6 sc in MR (6)
Round 2: 6 inc (12)
Round 3: [3 sc, inc] x 3 (15)
Rounds 4-5: sc around (15)
Do not stuff the legs tightly, keep them slightly flat. Fold the opening in half and crochet 7 sc across to close. FO, leaving a tail for sewing.
5. Tail (Use Light Green)
Round 1: 4 sc in MR (4)
Round 2: [1 sc, inc] x 2 (6)
Round 3: sc around (6). FO, leaving a tail.
Assembly Instructions
Now for the fun part—putting Flippy together!
- Sew the head to the front edge of the Shell, right below the cream border.
- Sew the four flippers to the underside edge of the shell (two near the head, two near the back).
- Sew the tiny tail to the very back of the shell.
- Take the Belly circle and align it with the bottom opening of the shell. Sew them together using the long tail from the shell. Don’t forget to stuff the body firmly before closing the gap completely!
And you’re done! Your very own cute Flippy the Turtle is ready for hugs.
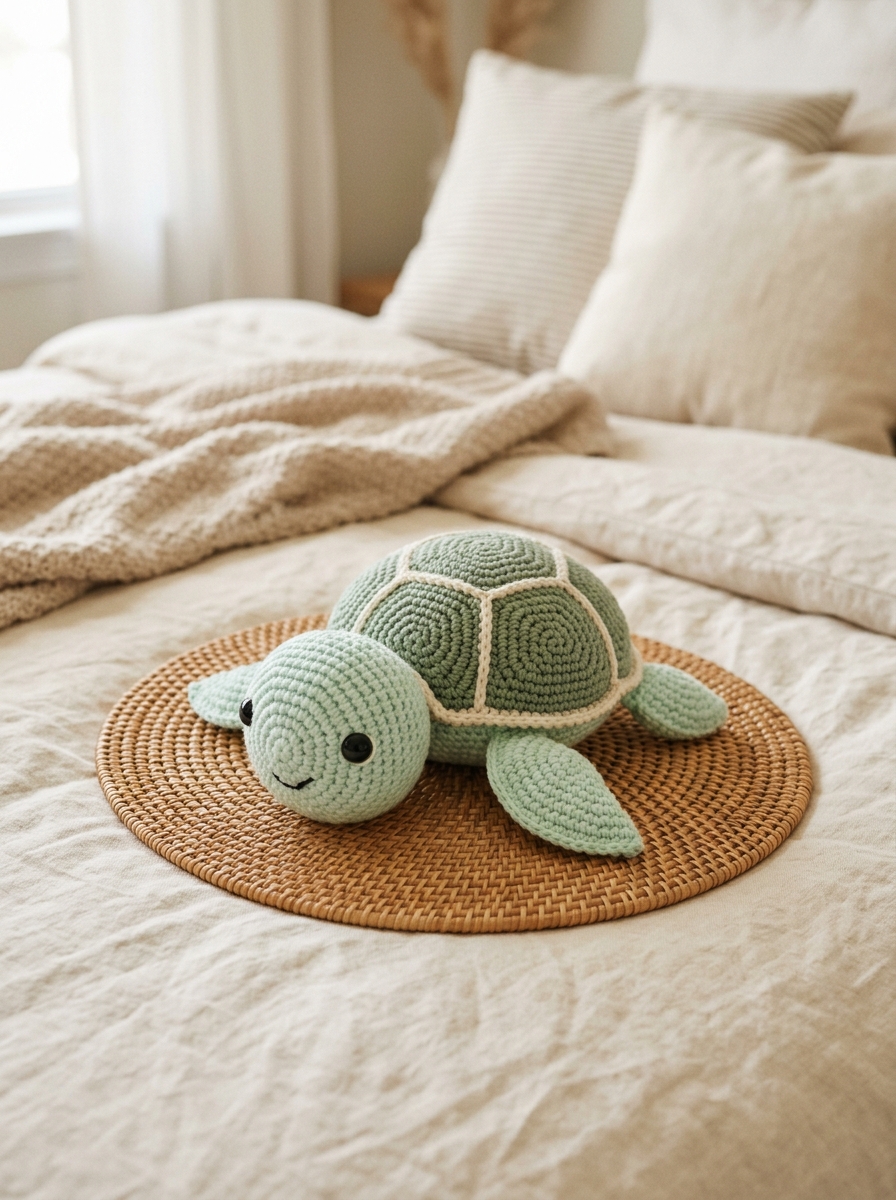
We’d love to see your creations! Make sure to save our pattern to Pinterest using the pin below so you can find it later!
Here is a handy Pinterest Pin to save this project for later!