Little Christmas Tree Free Crochet Pattern
Why go with store-bought mini Christmas trees when you can crochet a cute one with this free pattern? You just need this Little Christmas Tree to fill your desk or mantle with festive vibes!
This pattern is constructed by stacking 5 increasing layers, topped with a cute little star. It’s a wonderful beginner-friendly amigurumi project for the holidays!

Skill Level & Details
- Skill Level: Beginner, Intermediate
- Terminology: US Terms
- Finished Size: Will vary depending on your yarn weight and hook size.
Materials Needed
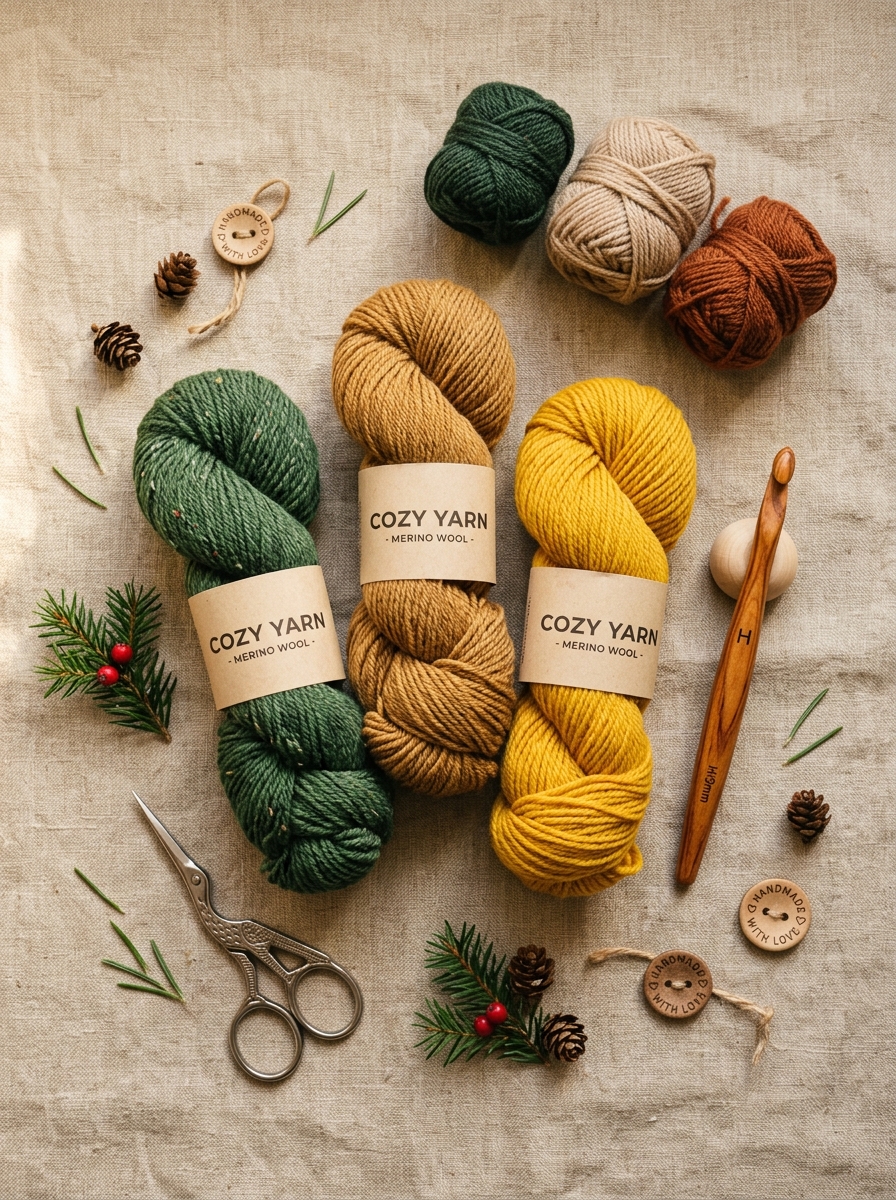
- Yarn: Main color yarn (Green for the tree), Contrasting color (Brown for trunk), Small amount of Yellow (for the star)
- Crochet Hook: Suitable for your yarn weight
- Notions: Scissors, Yarn needle, Stitch markers
- Base: Cork or metal tealight candle cup (optional, for weight/base)
Stitches and Abbreviations (US Terms)
- MR: Magic Ring
- ch: Chain
- sc: Single Crochet
- hdc: Half Double Crochet
- dc: Double Crochet
- inc: Increase (2 dc in the same stitch)
- sl st: Slip Stitch
- BLO: Back Loop Only
- Rnd: Round
Pattern Notes
- Crochet five main body layers, increasing each layer gradually.
- Work the decorative edge of each layer through the back loop only (BLO).
- Make two stars to create the finished tree topper.
- Keep your tension consistent so the layers sit evenly.
Free Pattern Instructions

Part 1: Main Body – Layer 1
Rnd 1: Make a magic ring and work 6 dc into the ring. (6)
Rnd 2: Work 6 dc increases around. (12)
Rnd 3: Work sc in BLO, then (2 dc, 2 ch, 2 dc) in the same sequence; repeat to the end of the round.
Part 2: Main Body – Layer 2
Rnd 1: Make a magic ring and work 6 dc into the ring. (6)
Rnd 2: Work 6 dc increases around. (12)
Rnd 3: [dc, dc inc] × 6. (18)
Rnd 4: Work sc in BLO, then (2 dc, 2 ch, 2 dc); repeat to the end of the round.
Part 3: Main Body – Layer 3
Rnd 1: Make a magic ring and work 6 dc into the ring. (6)
Rnd 2: Work 6 dc increases around. (12)
Rnd 3: [dc, dc inc] × 6. (18)
Rnd 4: [dc, dc inc, dc] × 6. (24)
Rnd 5: Work sc in BLO, then (2 dc, 2 ch, 2 dc); repeat to the end of the round.
Part 4: Main Body – Layer 4
Rnd 1: Make a magic ring and work 6 dc into the ring. (6)
Rnd 2: Work 6 dc increases around. (12)
Rnd 3: [dc, dc inc] × 6. (18)
Rnd 4: [dc, dc inc, dc] × 6. (24)
Rnd 5: [3 dc, dc inc] × 6. (30)
Rnd 6: Work sc in BLO, then (2 dc, 2 ch, 2 dc); repeat to the end of the round.
Part 5: Main Body – Layer 5
Rnd 1: Make a magic ring and work 6 dc into the ring. (6)
Rnd 2: Work 6 dc increases around. (12)
Rnd 3: [dc, dc inc] × 6. (18)
Rnd 4: [dc, dc inc, dc] × 6. (24)
Rnd 5: [3 dc, dc inc] × 6. (30)
Rnd 6: [2 dc, dc inc, 2 dc] × 6. (36)
Rnd 7: Work sc in BLO, then (2 dc, 2 ch, 2 dc); repeat to the end of the round.
Part 6: Star – Make 2
Rnd 1: Make a magic ring and work 10 sc into the ring.
Rnd 2: Ch 4. Starting in the 2nd chain from the hook, work sc, hdc, dc, and sl st. Repeat the sequence 5 times to create the five points of the star.
Fasten off, leaving a tail for assembly. Make a second star in the same way.
Part 7: Tree Trunk
Rnd 1: Make a magic ring and work 6 sc. (6)
Rnd 2: Work 6 sc increases around. (12)
Rnd 3: Work sc in each stitch around. (12)
Rnd 4: [2 sc, sc inc] repeat around. (16)
Rnd 5: Work 24 sc BLO. (Note: if following stitch count, increase to 24 before this round or adjust as needed)
Rnd 6–10: Work 24 sc in each round.
Fasten off, leaving a long tail for sewing.
Assembly Instructions
- Arrange the five tree layers from smallest to largest. Stack and secure the layers so they form the shape of a Christmas tree.
- Attach the tree trunk to the bottom center of the tree.
- Place the two crocheted stars together. Stitch the two stars around their edges, keeping them neat and evenly joined.
- Attach the finished star to the top of the tree.
- Weave in all loose ends. Gently shape the layers.
Your beautiful Little Christmas Tree is now ready to spread holiday cheer!