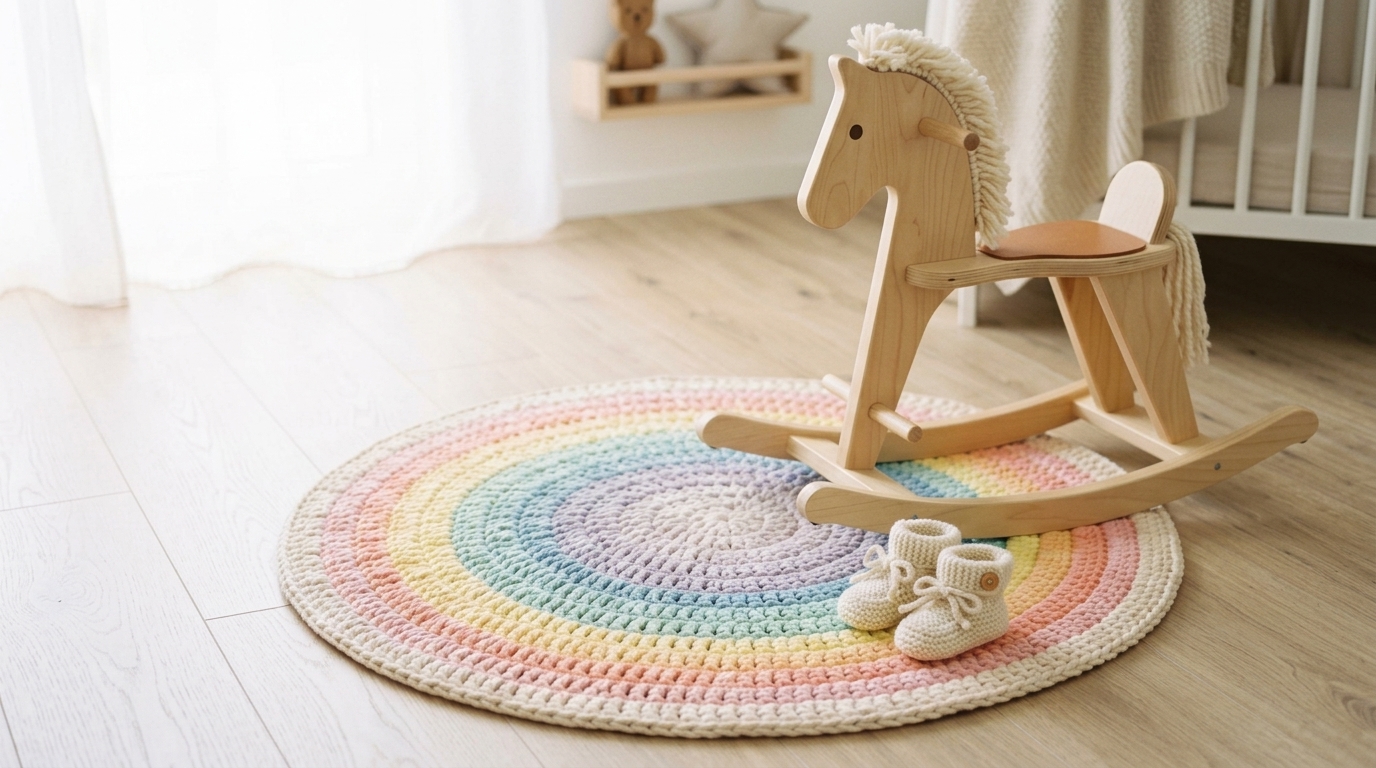
Adorable 20 cm Crochet Children’s Room Rug (Free Pattern)
Looking for a quick, charming addition to a nursery or a dollhouse? This ultra-cozy 20 cm crochet children’s room rug is the perfect miniature project! Whether you’re making a sensory mat for a baby’s tummy time, a playful accent for a reading nook, or a sweet dollhouse accessory, this chunky, soft rug works up in just under an hour. Using thick, plush chenille yarn in pastel shades, it brings instant warmth and texture to any space.
Designed with absolute beginners in mind, this pattern uses simple stitches worked in the round to create a sturdy, flat circle that won’t curl at the edges. Let’s grab our largest hooks and get making!
Materials You’ll Need
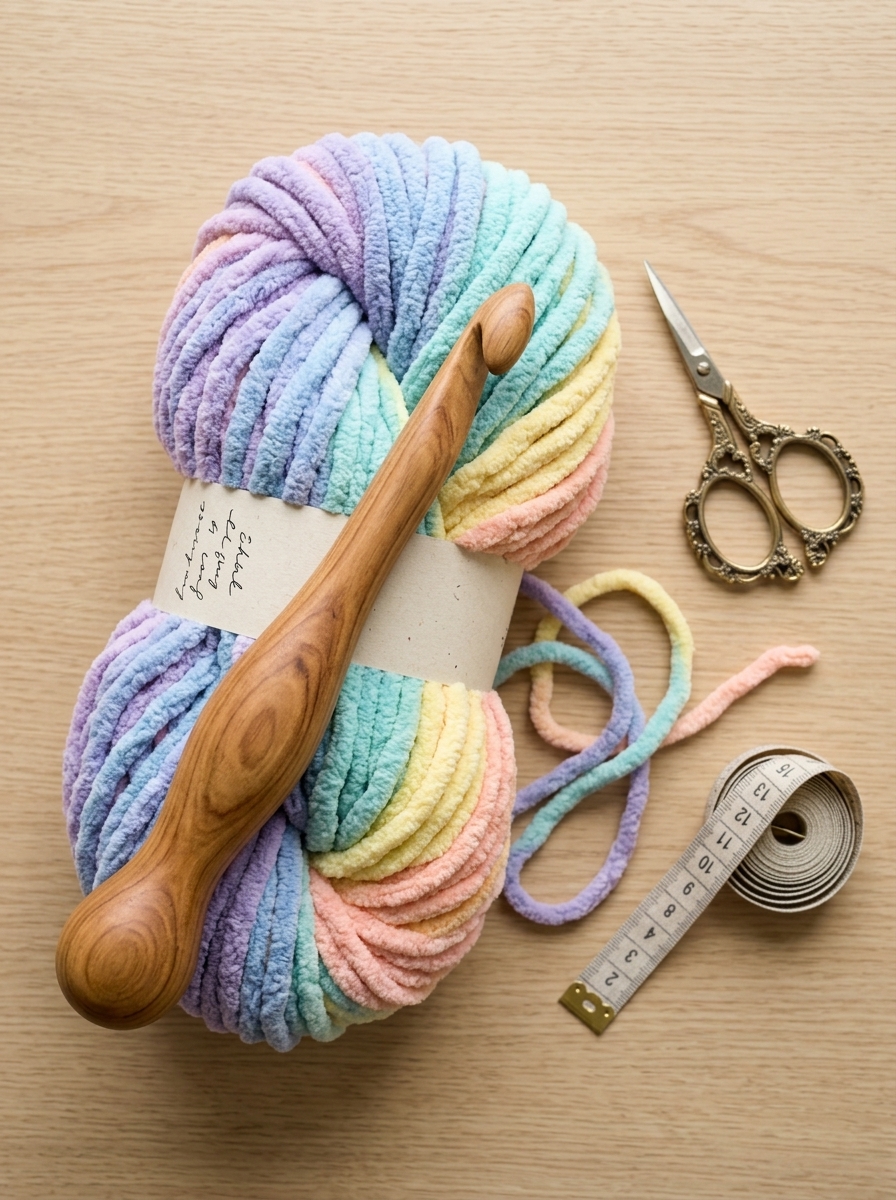
To create this cozy 20 cm miniature rug, you’ll need just a few supplies. The key to its squishy texture is using a super bulky or jumbo weight yarn!
- Yarn: 1 skein (approx. 30 yards) of Super Bulky (Weight 6) chenille or blanket yarn in your choice of pastel or rainbow colors.
- Hook: 9.0 mm (M/N) ergonomic wooden crochet hook.
- Notions: A large-eye tapestry needle (for weaving in thick ends), vintage brass scissors, and a stitch marker to keep track of your rounds.
Stitch Abbreviations (US Terms)
- MR: Magic Ring
- ch: chain
- sc: single crochet
- hdc: half double crochet
- sl st: slip stitch
- inc: increase (2 hdc in the same stitch)
- st(s): stitch(es)
Pattern Notes
- Skill Level: Beginner.
- Size: The finished rug measures exactly 20 cm (about 8 inches) in diameter.
- Construction: The rug is worked in continuous rounds. Do not join with a slip stitch at the end of each round; instead, use a stitch marker in the first stitch of the round and move it up as you go.
- Tension: Keep your tension relatively loose so the thick yarn remains plush. If your circle begins to cup or bowl, try using a larger hook.
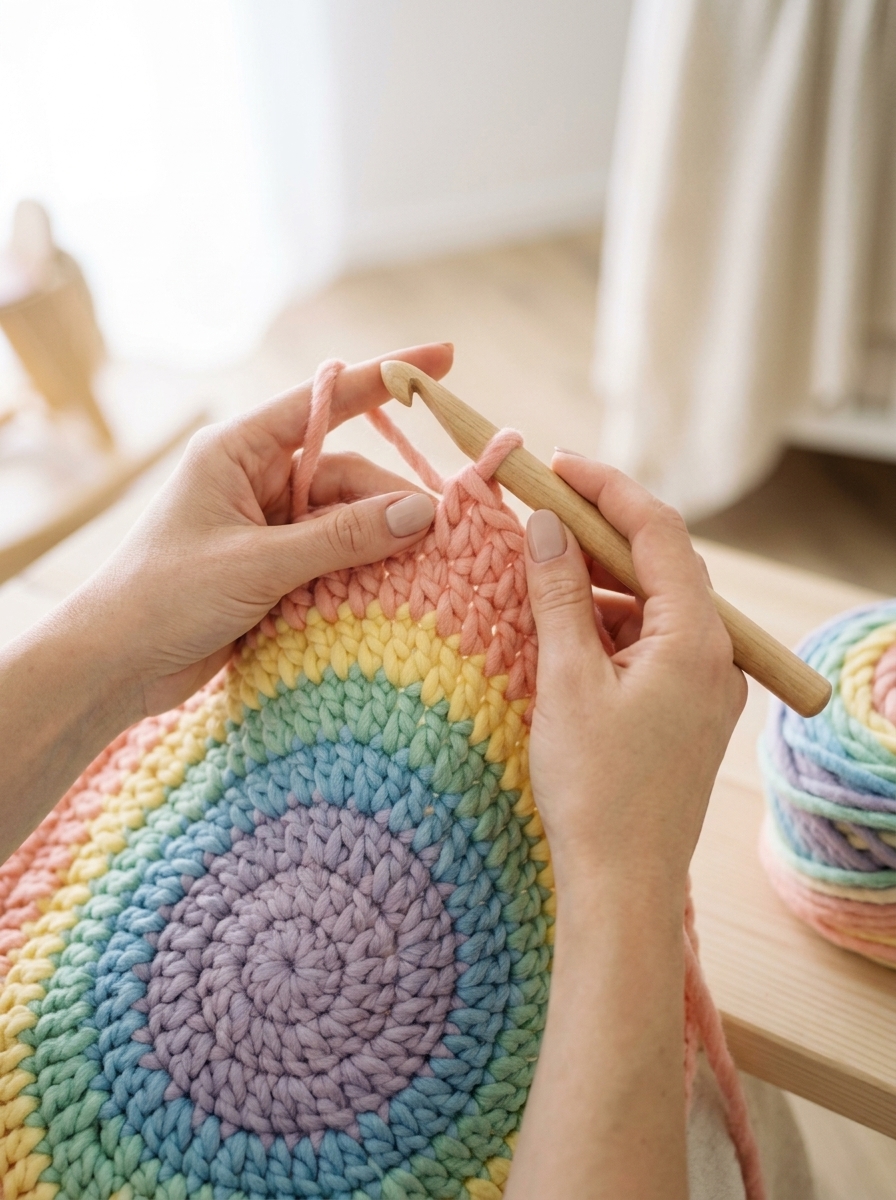
The 20 cm Children’s Room Rug Pattern
Round 1: Start by making a Magic Ring. Ch 1 (does not count as a stitch), work 8 hdc into the ring. Pull the tail tight to close the center. (8 sts)
Round 2: Work 2 hdc in each stitch around. (16 sts)
Round 3: *1 hdc in the next st, inc in the next st; repeat from * around. (24 sts)
Round 4: *1 hdc in each of the next 2 sts, inc in the next st; repeat from * around. (32 sts)
Round 5: *1 hdc in each of the next 3 sts, inc in the next st; repeat from * around. (40 sts)
Round 6 (Edging): To create a neat, rounded border, slip stitch loosely in each stitch around the entire rug. (40 sl sts)
Measure your piece; it should be approximately 20 cm across. If you need it slightly larger, add another round following the increase sequence (4 hdc, inc) before the edging round.
Finishing and Weaving In Ends
Cut your yarn, leaving a 6-inch tail. Pull the tail straight through the final loop on your hook (no need to chain 1 first, this creates a smoother finish). Thread the tail onto your large-eye tapestry needle.
To create an invisible finish, insert your needle under both loops of the second slip stitch of the edging round (skipping the very first slip stitch). Pull through, then insert the needle back down into the center of the final slip stitch you made. Weave the remaining tail securely back and forth through the dense stitches on the underside of the rug.
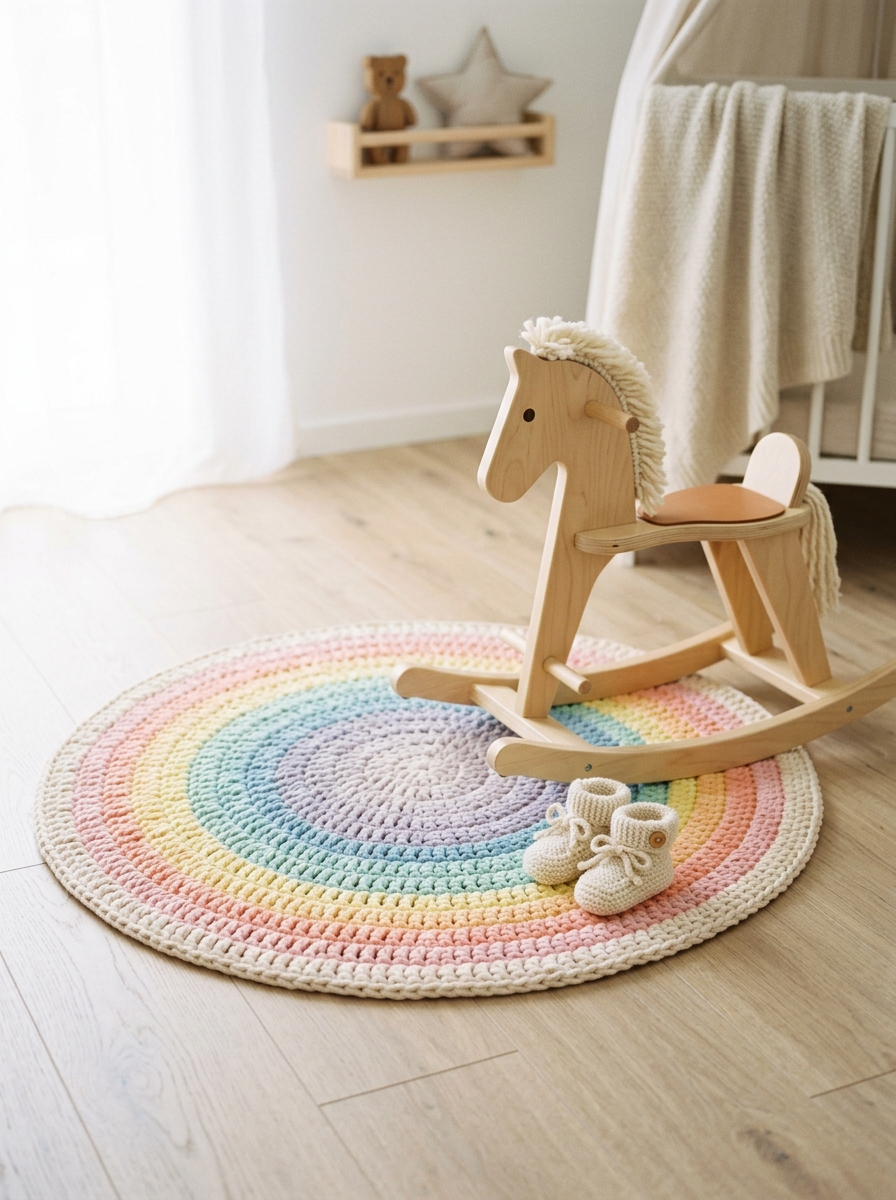
Care Instructions
Since this rug is likely to be touched and played with frequently, it needs to stay clean! For chenille or blanket yarn, I recommend spot cleaning small spills with a damp cloth and mild soap. If it requires a deep clean, place it inside a mesh laundry bag, wash on a gentle, cold cycle, and reshape it on a flat surface to air dry. Avoid the dryer, as extreme heat can melt synthetic plush fibers.