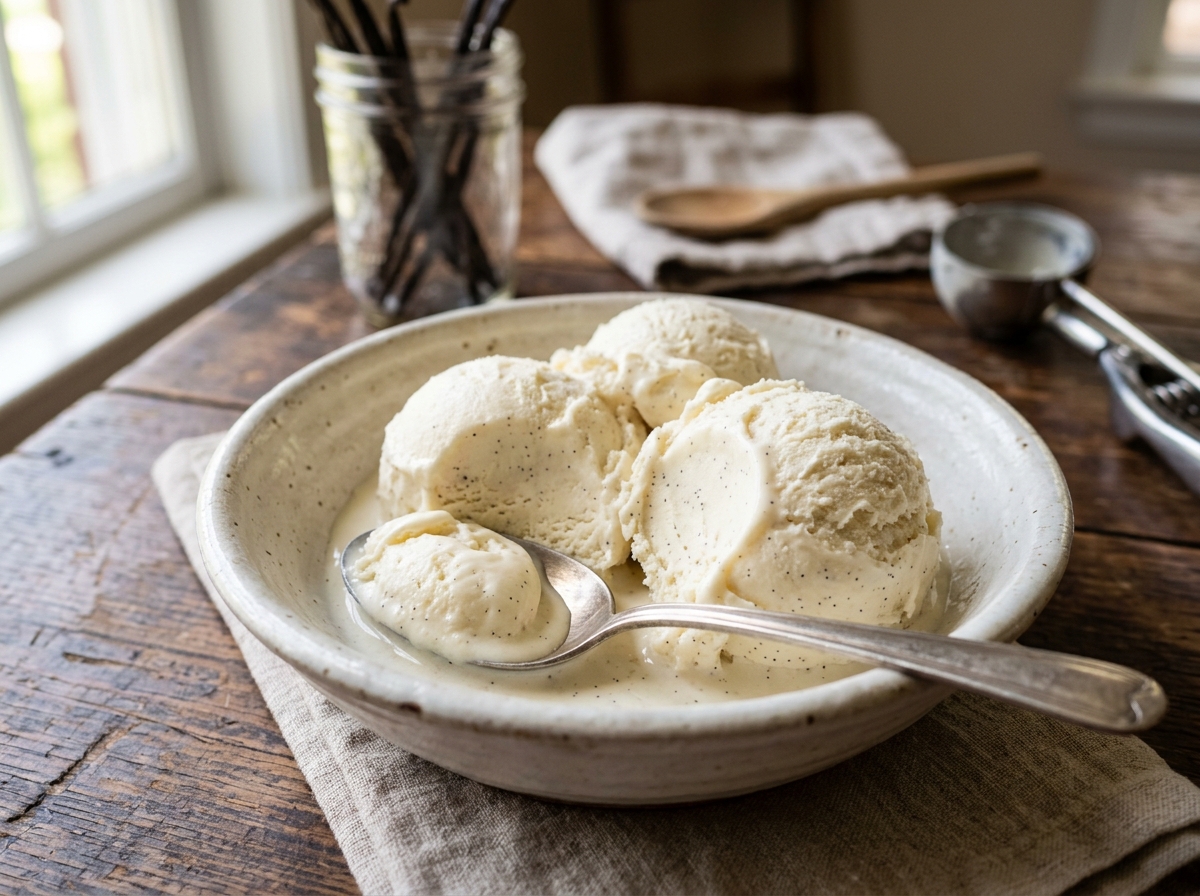
Close your eyes and imagine digging a warm metal scoop into a freshly churned tub of custard-based vanilla ice cream. The velvet softness yields without a fight, releasing a rich, floral aroma of real vanilla bean that instantly fills the kitchen.
Taking that first bite is pure bliss—frosty, decadent, and ridiculously smooth, melting slowly on your tongue with notes of warm sweet cream and butterscotch. Forget store-bought tubs filled with gummy stabilizers and excess air; this homemade version is luxury in its purest, simplest form.
Why is Homemade Vanilla Ice Cream So Good?
- Unrivaled Silkiness: A rich, egg-yolk custard base ensures a velvety mouthfeel that no commercial brand can duplicate.
- Real Vanilla Flavor: Scraped vanilla bean flecks provide deep, complex floral notes far superior to artificial extracts.
- Simple Ingredients: Made with fresh cream, whole milk, sugar, and egg yolks—no artificial gums or preservatives needed.
- The Ultimate Canvas: Perfect enjoyed on its own, yet versatile enough to elevate warm pies, brownies, and fruit cobblers.
Ingredients
- Heavy Whipping Cream — Delivers the essential fat content that yields a lush texture and prevents ice crystals.
- Whole Milk — Balances the heavy cream so the ice cream melts smoothly without coating your mouth in fat.
- Egg Yolks — Emulsify the custard base, providing rich flavor, deep yellow color, and structure.
- Granulated Sugar — Sweetens the ice cream while lowering the freezing point to keep the texture scoopable.
- Vanilla Bean — Yields fragrant, authentic flavor and gorgeous dark specks throughout the churn.
- Fine Sea Salt — Cuts through the rich dairy and heightens the sweet vanilla notes.
How to Make Homemade Vanilla Ice Cream
- Infuse the dairy by gently warm whole milk, 1 cup of heavy cream, half the sugar, sea salt, and the scraped vanilla bean pod in a saucepan until steam rises.
- Whisk the egg yolks and remaining sugar in a medium bowl until pale, thick, and ribbony to create a stable base.
- Temper the yolks by slowly trickling a cup of the warm milk mixture into the bowl while whisking continuously so the eggs do not scramble.
- Cook the custard mixture over medium-low heat, stirring constantly with a wooden spoon, until it coats the back of the spoon and reaches 170°F (77°C).
- Strain the warm base through a fine-mesh sieve into a clean bowl containing the remaining cold heavy cream to stop the cooking process.
- Chill the ice cream custard in the refrigerator for at least 4 hours, or overnight, until completely cold to guarantee a fast and smooth churn.
- Churn the cold custard in your ice cream maker according to the manufacturer's instructions until it reaches soft-serve consistency.
- Freeze the ice cream in a chilled container for 3 to 4 hours so it hardens into perfect scoopable scoops.
Tips for the Best Homemade Vanilla Ice Cream
- Freeze your ice cream maker bowl for at least 24 hours prior to churning to ensure it stays cold enough during processing.
- Press plastic wrap directly onto the surface of the warm custard before chilling to prevent a rubbery skin from forming.
- Don't rush the chilling phase; a ice-cold base churns faster and yields significantly smaller ice crystals for maximum smoothness.
- Stir in a tablespoon of vodka or vegetable glycerin right before churning if you want an extra-soft scoop straight out of a deep freezer.
How to Store Homemade Vanilla Ice Cream
Store your ice cream in a shallow, airtight container or a metal loaf pan wrapped tightly with plastic wrap and foil. To prevent freezer burn and surface ice crystals, press a sheet of wax paper or parchment paper directly onto the surface of the ice cream before sealing. Keep the container in the coldest part of your freezer (usually the back) rather than the door, where temperature fluctuates. For the best texture and freshest flavor, enjoy within 2 to 3 weeks.
Homemade Vanilla Ice Cream Your Way
- Salted Caramel Swirl: Ribbon warm salted caramel sauce into the tub while transferring the churned ice cream.
- Cookies & Cream: Fold in coarsely crushed chocolate sandwich cookies during the final minute of churning.
- Berry Ribbon: Swirl in cooked and chilled raspberry or strawberry jam for a bright, tangy contrast.
- Eggless (Philadelphia-Style): Skip the egg yolks and cooking step altogether; simply whisk cream, milk, sugar, and vanilla until dissolved, then churn immediately.
Make-Ahead Instructions
You can easily prepare the custard base up to 3 days in advance. Keep it tightly covered in the refrigerator until ready to churn—in fact, letting the vanilla bean steep in the cold base for an extra day will only make the vanilla flavor deeper and more aromatic. Once churned, remember that the ice cream needs at least 3 to 4 hours of hardening time in the freezer before serving.
Frequently Asked Questions
Can I make this recipe without an ice cream maker?
Yes! Pour the chilled custard into a shallow freezer-safe dish and place it in the freezer. Every 30 minutes for 2 to 3 hours, take it out and whisk vigorously with a hand mixer to break up ice crystals as it freezes.
Can I substitute vanilla extract for the vanilla bean?
Absolutely. Substitute 1 tablespoon of pure vanilla extract or vanilla bean paste for the whole vanilla bean. Stir the extract in after you have cooked and strained the custard.
Why is my ice cream icy instead of creamy?
Ice cream turns icy if the base wasn't cold enough before churning, if low-fat dairy was used, or if it took too long to freeze. Stick to whole milk and heavy cream, and chill your base thoroughly.