Imagine biting into a Mimosa Tart, where the zesty brightness of citrus dances with the buttery crunch of a perfectly baked crust, bringing an effervescent joy to your palate. The aroma of freshly squeezed oranges mingles with a hint of sparkling wine, creating an irresistible invitation that’s hard to resist, especially during lazy weekend brunches or celebratory gatherings.
This delightful dessert isn’t just a treat; it’s a memory waiting to unfold. Picture yourself at a sun-drenched brunch table surrounded by friends, laughter echoing as you savor each slice of this tart that captures the essence of carefree afternoons. With every forkful, you’ll experience a burst of flavors that will transport you back to those cherished moments, making it the ideal centerpiece for any occasion that calls for something sweet and refreshing.
Why Is Mimosa Tart So Irresistibly Good?
Refreshing flavors of freshly squeezed orange juice and vibrant zest make every bite a citrus delight. Quick prep time ensures you can whip this up in just 15 minutes, perfect for last-minute brunches. Elegant presentation with whipped cream and orange slices elevates your dessert game effortlessly. Versatile for any occasion, whether it’s a sunny brunch or a sweet finish to dinner, this tart is sure to impress your guests!
Mimosa Tart Ingredients
For the Crust
- 1 cup all-purpose flour – This forms the base of your tart, providing a delightful texture.
- 1/2 cup unsalted butter (cold and cubed) – Cold butter ensures a flaky crust; don’t skip this step!
- 1/4 cup powdered sugar – Adds sweetness and helps create a tender crust that melts in your mouth.
- 1 large egg yolk – This enriches the crust, giving it a lovely golden color and flavor.
For the Filling
- 1 cup orange juice (freshly squeezed) – Fresh juice is key for vibrant flavor in your Mimosa Tart.
- 1/4 cup granulated sugar – Balances the tartness of the orange juice with just the right amount of sweetness.
- 3 large eggs – Eggs provide structure and richness to the filling, ensuring it sets nicely.
- 1 tablespoon orange zest – A little zest brightens up the flavor profile and enhances the citrus aroma.
For the Topping
- 1/2 cup whipped cream (for serving) – Light and fluffy, this adds a luxurious touch to each slice of tart.
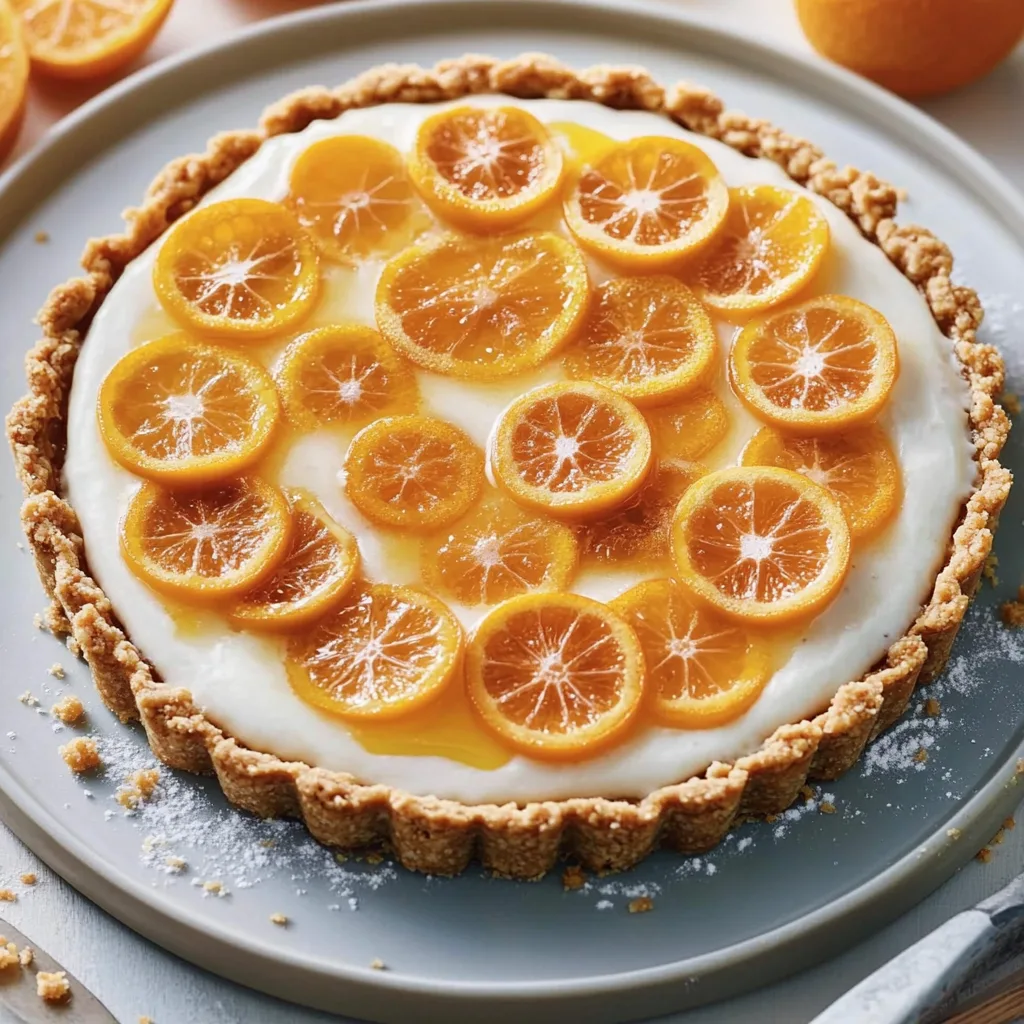
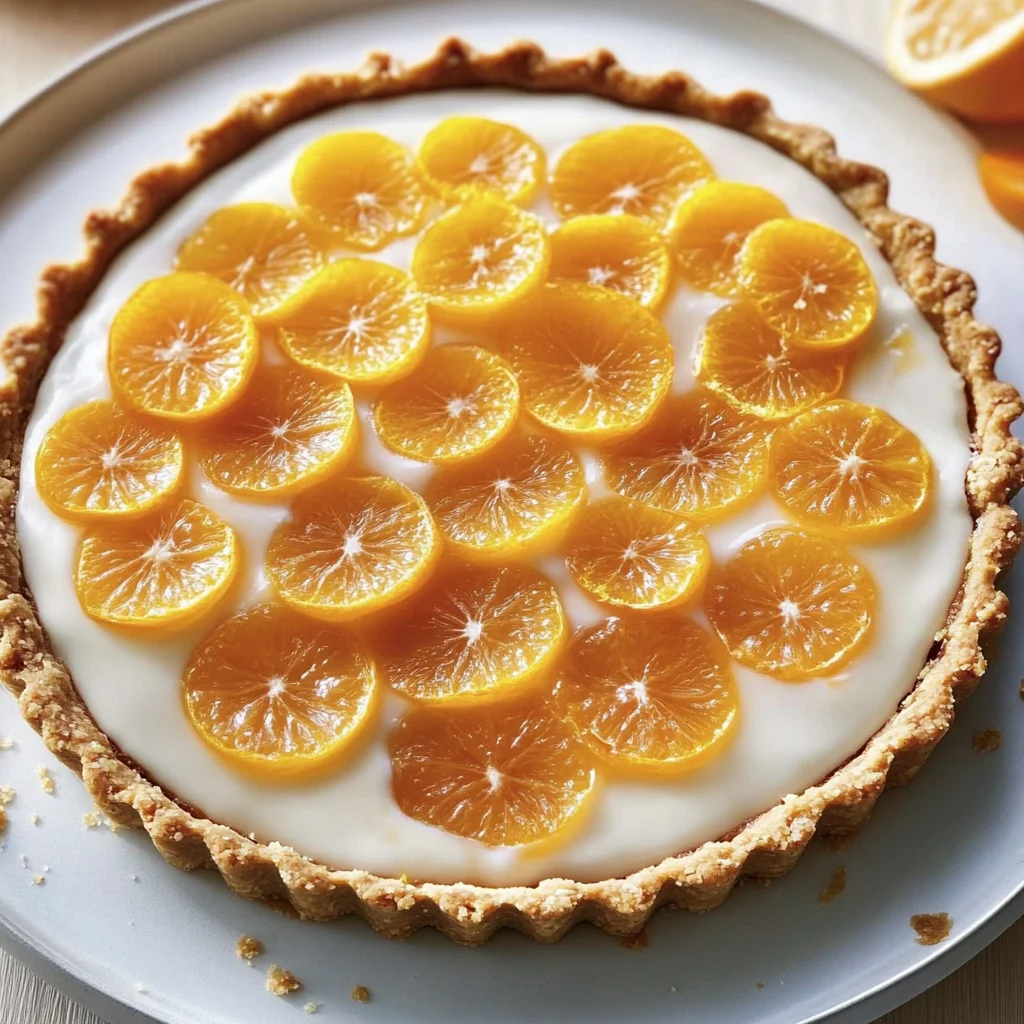
- 1 orange sliced (for garnish) – Fresh slices not only look beautiful but also add a refreshing burst of flavor!
How to Make Mimosa Tart
1. Preheat the oven to 350°F (175°C). This is the perfect temperature for creating a golden crust that holds all the delicious flavors of your Mimosa Tart together.
2. Combine flour, cold cubed butter, and powdered sugar in a mixing bowl until crumbly. You want to achieve that sandy texture which will make your crust delightful!
3. Add the egg yolk and mix until a dough forms. The richness of the egg yolk will bind everything beautifully, ensuring a tender crust.
4. Press the dough into the bottom and up the sides of a tart pan. Be sure to prick the bottom with a fork—this helps prevent bubbling as it bakes.
5. Bake for 15 minutes or until lightly golden. You’ll know it’s ready when it has that inviting golden hue!
For the Filling:
6. Whisk together freshly squeezed orange juice, granulated sugar, eggs, and orange zest in a bowl until well combined. This fragrant mixture is what gives your tart its refreshing taste!
For Baking:
7. Pour the filling into the baked crust and return to the oven. Bake for an additional 15 minutes or until set—it should jiggle slightly but not slosh!
8. Let the tart cool completely before serving; this allows all those lovely flavors to meld together perfectly.
9. Top with whipped cream and garnish with orange slices just before serving for that extra touch of elegance and flavor.
Optional: Garnish with mint leaves for an extra pop of color!
Exact quantities are listed in the recipe card below.
Pro Tips for Mimosa Tart
- Chill the Butter: Ensure your unsalted butter is cold and cubed; this helps create a flaky crust that holds up beautifully.
- Fresh Juice Matters: Use freshly squeezed orange juice for the filling; it elevates the tart’s flavor and brightness compared to bottled juice.
- Avoid Overmixing: When combining the crust ingredients, mix just until the dough forms. Overmixing can lead to a tough texture.
- Check for Doneness: The filling should be set but slightly jiggly in the center. If overbaked, it can become rubbery – nobody wants that!
- Cool Completely: Allow the Mimosa Tart to cool completely before adding whipped cream and orange slices. This prevents melting and maintains presentation.
How to Store and Freeze Mimosa Tart
- Fridge: Store leftover Mimosa Tart in an airtight container for up to 3 days. This keeps the crust crisp while preserving the filling’s freshness.
- Freezer: You can freeze the tart before adding whipped cream and orange slices. Wrap it tightly in plastic wrap and aluminum foil for up to 2 months.
- Thawing: To enjoy frozen Mimosa Tart, thaw it overnight in the fridge before serving. Add whipped cream and garnish just before enjoying for the best texture.
- Reheating: If desired, lightly warm individual slices in a microwave for about 10-15 seconds. Enjoy immediately for a delightful treat!
Mimosa Tart Your Way
Feel free to get creative and customize this delightful tart to suit your taste and dietary needs!
- Gluten-Free: Substitute the all-purpose flour with a gluten-free blend for a deliciously light crust. You’ll still enjoy that flaky texture without the gluten!
- Vegan: Use coconut oil instead of butter, aquafaba in place of eggs, and opt for maple syrup instead of granulated sugar. This version maintains the tart’s sweetness while being plant-based.
- Zesty Twist: Add an extra tablespoon of lemon zest to the filling for a vibrant citrus punch. The combination of orange and lemon brings a refreshing brightness that’s simply irresistible.
- Nutty Crust: Incorporate almond flour with your all-purpose flour for a nuttier flavor profile. This twist adds depth and richness, creating a unique base that pairs beautifully with the filling.
- Boozy Boost: For an adult twist, mix in a splash of champagne or prosecco into the filling. The bubbly addition elevates the mimosa experience to new heights, perfect for celebrations!
- Creamy Filling: Replace half of the orange juice with heavy cream for a richer filling. This decadent change creates a luscious texture that will have everyone coming back for seconds.
- Berry Delight: Fold in fresh berries like raspberries or blueberries before baking for a fruity surprise in every bite. The tartness from the berries complements the sweet orange beautifully.
- Spicy Kick: Add a pinch of cayenne pepper or ginger to the filling for an unexpected heat that balances sweetness. This twist is sure to intrigue your guests and spark conversation!
Make Ahead Options
This Mimosa Tart is not only a delightful treat but also perfect for meal prep, allowing you to savor its refreshing flavors with minimal last-minute effort. You can prepare the crust in advance by mixing 1 cup of all-purpose flour, 1/2 cup of cold cubed unsalted butter, and 1/4 cup of powdered sugar until crumbly, then adding 1 large egg yolk to form the dough. Once you press it into your tart pan and bake it for about 15 minutes, it can be stored at room temperature for up to 24 hours. The filling, made with 1 cup of freshly squeezed orange juice, 1/4 cup of granulated sugar, 3 large eggs, and 1 tablespoon of orange zest, can also be whisked together and refrigerated for up to 3 days. When you’re ready to serve this beautiful Mimosa Tart, simply pour the chilled filling into the pre-baked crust and bake for another 15 minutes until set. Top with whipped cream and fresh orange slices right before serving for that perfect finishing touch!
Mimosa Tart Recipe FAQs
What type of orange juice should I use for the filling?
For the best flavor, always opt for freshly squeezed orange juice. It offers a vibrant and tangy taste that bottled juices simply can’t match. If you’re in a pinch, 100% pure bottled orange juice can work, but your tart might lack that fresh zing.
Can I substitute the all-purpose flour in the crust?
Absolutely! If you’re looking for a gluten-free option, consider using almond flour or a gluten-free all-purpose blend. Just keep in mind that the texture may differ slightly, so adjust as needed for crumbly consistency.
How should I store any leftover Mimosa Tart?
To keep your Mimosa Tart fresh, store it covered in the refrigerator. It’s best enjoyed within 2-3 days. If you notice the crust getting soggy, place a piece of wax paper between the tart and the cover to help absorb excess moisture.
Can I freeze the Mimosa Tart?
Yes, you can freeze this tart! Wrap it tightly in plastic wrap and then in aluminum foil. It can be frozen for up to 2 months. When ready to enjoy, thaw it in the fridge overnight and top with whipped cream and orange slices just before serving.
What if my tart filling doesn’t set properly?
If your filling is still jiggly after baking, it may need more time in the oven. Check at 5-minute intervals until it’s just set but still has a slight wobble in the center. Remember to let it cool completely before cutting; it will firm up as it cools!
How many servings does this recipe yield?
This delightful Mimosa Tart serves about 4 people. Each slice is around 250 calories, making it a light but satisfying treat perfect for brunch or dessert that won’t leave you feeling overly indulgent!
Mimosa Tart
Ingredients
Method
- Preheat the oven to 350°F (175°C). In a mixing bowl, combine flour, butter, and powdered sugar until crumbly. Add egg yolk and mix until dough forms.
- Press the dough into the bottom and up the sides of a tart pan. Prick the bottom with a fork and bake for 15 minutes or until lightly golden.
- In a bowl, whisk together orange juice, sugar, eggs, and orange zest until well combined.
- Pour the filling into the baked crust and return to the oven. Bake for an additional 15 minutes or until set.
- Let the tart cool, then top with whipped cream and orange slices before serving.