Imagine a scoop of velvety no-churn berry ice cream melting on your tongue, bursting with the sweet tang of summer berries and the creamy richness that makes every bite feel like a mini-vacation. The vibrant colors swirl together, creating not just a treat but a whimsical masterpiece that’s perfect for hot afternoons or cozy gatherings with friends.
It takes me back to sunny backyard barbecues, where laughter fills the air and the only thing more delightful than the ice cream is watching everyone’s eyes light up with each spoonful. This no-churn berry ice cream is not just dessert; it’s an invitation to savor life’s simple pleasures and create delicious memories together. Get ready for a flavor explosion that will make you wonder why you ever settled for store-bought!
Why Is No-churn berry ice cream So Irresistibly Good?
Deliciously creamy and bursting with fresh berry flavor, this no-churn berry ice cream is the perfect summer treat! Quick to whip up, it requires just 15 minutes of prep time—no ice cream maker needed! Versatile and fun, you can mix in your favorite fruits or toppings. Crowd-pleasing for kids and adults alike, it’s a delightful way to enjoy seasonal berries. Plus, easy to store, you can make a batch ahead of time for spontaneous sweet cravings!
No-churn berry ice cream Ingredients
- For the Berries
- 2 cups mixed berries (fresh or frozen) – Use your favorite berries for a burst of flavor in this delightful no-churn berry ice cream.
- For the Cream mixture
- 1 cup heavy cream (whipped) – Whipping the cream adds lightness and volume, creating a rich texture.
- 1 cup sweetened condensed milk – This provides sweetness and creaminess, essential for a luscious ice cream base.
- 1 teaspoon vanilla extract – A splash of vanilla enhances the overall flavor, making it even more irresistible.
How to Make No-churn berry ice cream
1. Combine berries: In a mixing bowl, combine 2 cups of mixed berries, whether fresh or frozen, and gently mash them slightly. This step releases their natural juices, creating a beautiful berry base.
2. Whisk cream mixture: In another bowl, whisk together 1 cup of heavy cream (whipped), 1 cup of sweetened condensed milk, and 1 teaspoon of vanilla extract until well combined. The mixture should be smooth and creamy, with a lovely vanilla aroma.
3. Fold together: Gently fold the berry mixture into the cream mixture until evenly distributed. Aim for a marbled effect rather than complete blending—this gives your no-churn berry ice cream delightful swirls of color!
4. Freeze: Pour the combined mixture into a freezer-safe container and freeze for at least 4 hours or until firm. The texture should be creamy and scoopable after freezing.
Optional: Serve with fresh berries on top for an extra burst of flavor.
Exact quantities are listed in the recipe card below.
Expert Tips
- Berry Selection: Use a mix of fresh berries for the best flavor, but if using frozen, ensure they are fully thawed for even blending.
- Whipping Cream: Whip the heavy cream until stiff peaks form; this helps create a light and airy texture in your no-churn berry ice cream.
- Condensed Milk Blend: Ensure the sweetened condensed milk and vanilla are thoroughly whisked with the cream to prevent separation during freezing.
- Even Distribution: Fold the berry mixture gently into the cream to maintain the fluffiness of your no-churn berry ice cream; overmixing can lead to a dense texture.
- Freezing Tip: For easier scooping later, let your ice cream sit at room temperature for about 5 minutes before serving.
How to Store and Freeze No-churn berry ice cream
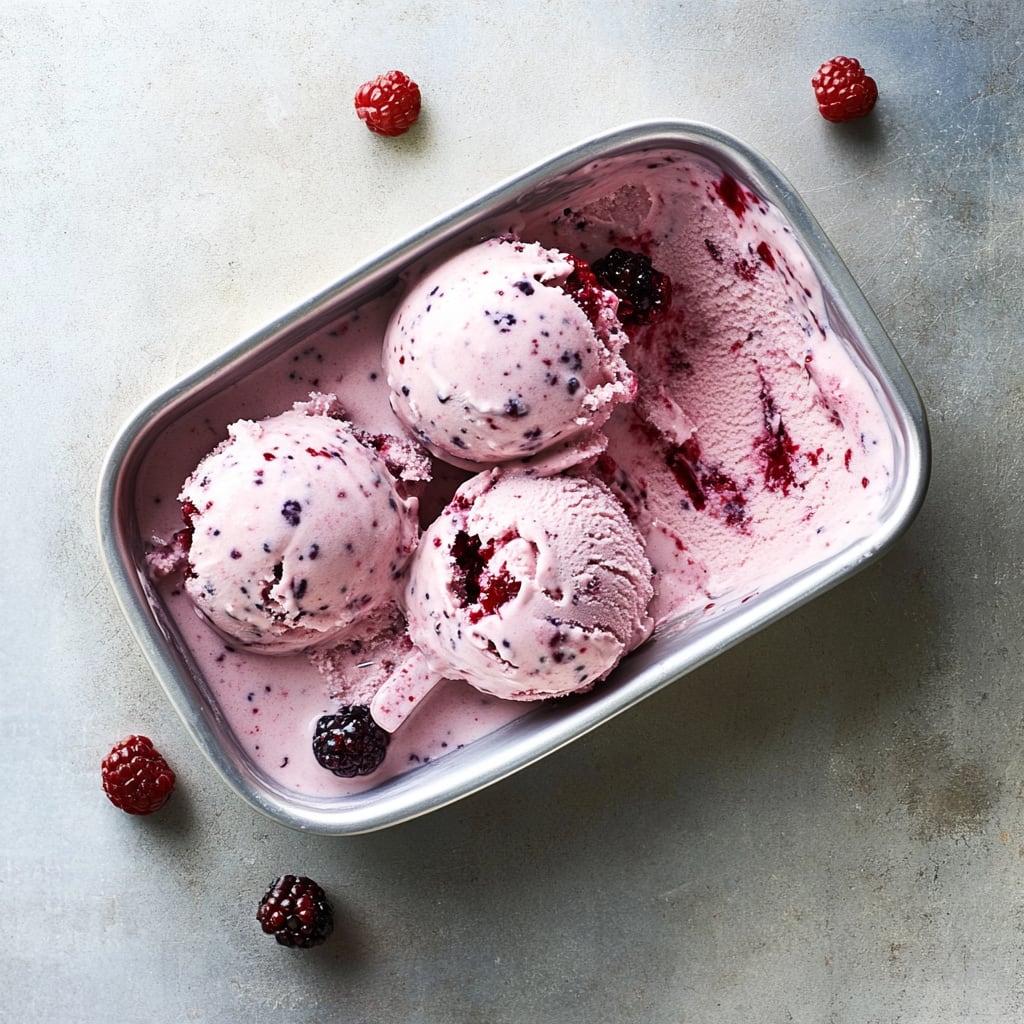
- Fridge: Store your no-churn berry ice cream in an airtight container for up to 3 days. This keeps it fresh and ready for delicious scoops at a moment’s notice.
- Freezer: For longer storage, keep the ice cream in the freezer for up to 2 months. Ensure it’s tightly sealed to prevent freezer burn and maintain its creamy texture.
- Serving Tip: Before serving, let the no-churn berry ice cream sit at room temperature for about 5-10 minutes. This makes scooping easier and enhances its flavor!
No-churn berry ice cream Your Way
Feel free to get creative and make this delightful treat uniquely yours with these fun twists!
- Tropical Twist: Replace mixed berries with 2 cups of diced tropical fruits like mangoes or pineapples for a sunny flavor. The bright colors and flavors will transport you straight to a beachside paradise.
- Chocolate Delight: Add 1/4 cup of cocoa powder to the cream mixture for a rich chocolatey base that pairs beautifully with berries. This indulgent twist will satisfy any chocolate lover’s cravings while still showcasing those lovely berries.
- Nutty Crunch: Fold in 1/2 cup of crushed nuts, such as almonds or pecans, into the cream mixture for a delightful crunch. The added texture brings another layer of enjoyment and an unexpected surprise in every bite!
- Zesty Lemon: Incorporate the zest of one lemon into the cream mixture for a refreshing citrus kick. This brightens up the flavors and gives your berry ice cream a zesty zing that’s perfect for summer.
- Spicy Kick: Mix in a pinch of cayenne pepper or chili powder for a surprising heat that complements the sweetness of the berries. It’s an adventurous addition that will leave your taste buds tingling with excitement!
- Herbal Infusion: Steep fresh mint leaves in the heavy cream before whipping it for an aromatic herbal touch. This subtle infusion enhances the overall flavor profile and adds a refreshing note to every scoop.
- Swirled Goodness: Create swirls by layering berry puree throughout the ice cream instead of mixing it in completely. This not only adds visual appeal but also gives you bursts of concentrated berry flavor in each bite!
Make Ahead Options
This no-churn berry ice cream is a fantastic treat for meal prep lovers, allowing you to indulge in creamy goodness without the fuss. You can prepare the berry mixture by mashing the 2 cups of mixed berries (fresh or frozen) up to 3 days in advance, storing it in an airtight container in the fridge. Additionally, the cream mixture can be whisked together—combining 1 cup of heavy cream, 1 cup of sweetened condensed milk, and 1 teaspoon of vanilla extract—24 hours ahead of time. When you’re ready to enjoy, simply fold your prepped berry mixture into the cream mixture, pour it into a freezer-safe container, and pop it into the freezer for at least 4 hours or until firm. This way, your delicious no-churn berry ice cream will be ready to serve whenever you crave that refreshing taste!
No-churn berry ice cream Recipe FAQs
What types of berries work best for this recipe?
You can use any mix of berries you love! Fresh strawberries, blueberries, raspberries, or blackberries are all delightful options. If fresh berries aren’t available, frozen ones work just as well—just let them thaw slightly before mashing for easier blending.
How should I store the no-churn berry ice cream after making it?
Once your no-churn berry ice cream is ready, transfer it to an airtight freezer-safe container. It will stay fresh and delicious in the freezer for up to two weeks. Just remember to cover it tightly to prevent ice crystals from forming on top!
Can I make this recipe dairy-free?
Absolutely! To make a dairy-free version, substitute heavy cream with coconut cream and use a plant-based sweetened condensed milk alternative. The flavor will be slightly different but still incredibly tasty and creamy!
What if my ice cream isn’t freezing properly?
If your no-churn berry ice cream isn’t freezing as expected, ensure that your freezer is set to 0°F (-18°C) or lower. Also, check that you’ve mixed the ingredients thoroughly; sometimes, uneven mixing can lead to a softer texture. If it’s still too soft after 4 hours, give it an additional hour or two in the freezer.
What’s the serving size for this ice cream?
This recipe yields about four servings, with each serving containing approximately 250 calories. Perfect for sharing with family or enjoying a scoop all to yourself!
Can I add mix-ins like chocolate chips or nuts?
Absolutely! Feel free to fold in some mini chocolate chips, crushed nuts, or even chunks of your favorite cookies into the mixture before freezing. Just be sure not to overfill your container so the mix-ins don’t freeze unevenly—keep that creamy consistency!
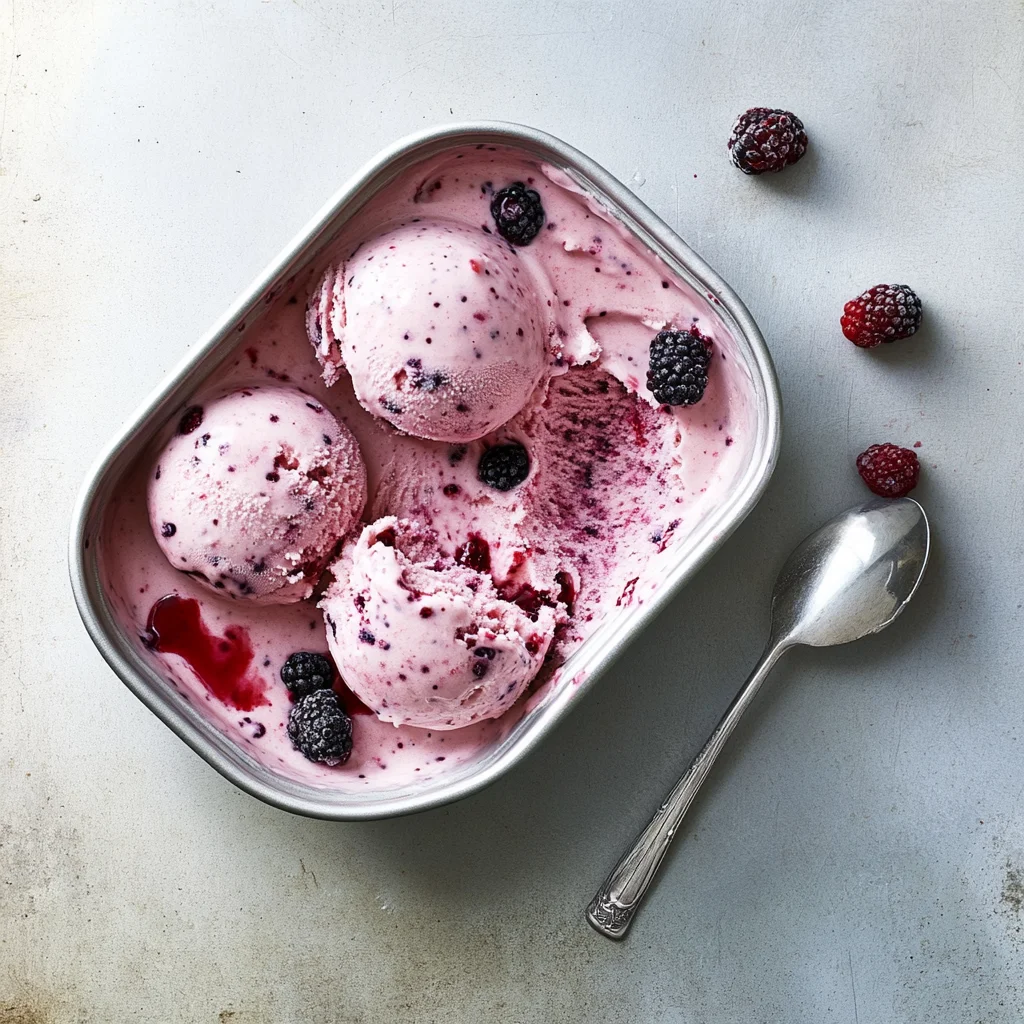
No-churn berry ice cream
Ingredients
Method
- In a mixing bowl, combine the mixed berries and mash them slightly.
- In another bowl, whisk together the heavy cream, sweetened condensed milk, and vanilla extract until well combined.
- Fold the berry mixture into the cream mixture until evenly distributed. Pour into a freezer-safe container and freeze for at least 4 hours or until firm.