Imagine the warm, cheesy aroma wafting through your kitchen as you whip up a batch of Make Irresistible Homemade Cheez-Its in Just 20 Minutes. Each crispy bite bursts with a savory flavor that dances on your taste buds, making it impossible to stop at just one.
Whether you’re hosting game night or simply indulging in a cozy movie marathon, these delightful snacks will elevate any occasion. I still remember the first time I made them; the laughter and joy shared over a bowl of homemade goodness created memories that lingered long after the last crumb was gone.
Why Is Make Irresistible Homemade Cheez-Its in Just 20 Minutes So Irresistibly Good?
Quick and easy: Whip up these cheesy bites in just 20 minutes, perfect for busy days!
Flavor-packed: The sharp cheddar cheese combined with a hint of paprika creates a rich, savory flavor that’s hard to resist.
Versatile snacking: Enjoy them as a party appetizer, movie night snack, or lunchbox treat!
Homemade goodness: Skip the store-bought options for a fresher, personalized touch that your family will love.
Crowd-pleaser: These bite-sized delights are guaranteed to satisfy kids and adults alike, making them an instant hit at gatherings!
Ingredients for Make Irresistible Homemade Cheez-Its in Just 20 Minutes
- For the Dough
- 1 cup sharp cheddar cheese (shredded) – Use freshly shredded cheese for a richer flavor and better melt.
- 1/4 cup unsalted butter (softened) – Softened butter helps achieve a smooth, creamy texture in the dough.
- 1 cup all-purpose flour – This forms the base of your Cheez-Its, giving them that classic crunch.
- 1/2 teaspoon salt – Enhances the overall flavor, making your homemade Cheez-Its irresistibly tasty.
- 1/4 teaspoon paprika – Adds a subtle smokiness and color to your cheesy bites, enhancing their appeal.
- 1/4 cup water (as needed) – Use sparingly to bring the dough together without making it too sticky.
Step-by-Step Make Irresistible Homemade Cheez-Its in Just 20 Minutes
1. Preheat the oven to 350°F (175°C). This step is crucial for ensuring your Cheez-Its bake evenly and achieve that perfect golden-brown color.
2. Combine the shredded cheddar cheese, softened butter, all-purpose flour, salt, and paprika in a mixing bowl. Mix these ingredients until they form a crumbly dough that smells delightfully cheesy.
3. Mix until a dough forms. Keep stirring until the texture feels just right; it should be cohesive but still slightly crumbly. This will give your Cheez-Its that signature crunch!
4. Add water gradually, just enough to bring the dough together. You might not need the full 1/4 cup—aim for a soft but manageable dough that holds its shape.
5. Roll out the dough on a floured surface to about 1/8 inch thick. Take your time here; a thin layer will result in crispier bites that are simply irresistible!
6. Cut into squares using a knife or pizza cutter. Aim for uniform sizes so they bake evenly; about 1-inch squares work perfectly for snacking.
7. Place the squares on a baking sheet, leaving space between them for expansion during baking. Your kitchen will start to smell amazing as they begin to cook!
8. Bake for 10 minutes or until golden brown. Keep an eye on them in the last few minutes—overbaking can lead to a less desirable texture.
9. Cool before serving so they can firm up and reach their crunchy potential! Enjoy them as a snack or with your favorite dip.
Optional: Sprinkle with extra paprika for an added kick!
Exact quantities are listed in the recipe card below.
Pro Tips for Make Irresistible Homemade Cheez-Its in Just 20 Minutes
- Cheese Quality Matters: Use sharp cheddar cheese for a stronger flavor. Avoid pre-shredded cheese, as it often contains anti-caking agents that can affect dough texture.
- Butter Softness: Ensure your butter is softened to room temperature. This helps create a smoother dough, preventing the Cheez-Its from becoming too dry or crumbly.
- Water Gradually: Add water slowly to the dough. Too much water at once can lead to a sticky mess; stop when the dough holds together well.
- Rolling Thickness: Roll out the dough to about 1/8 inch thick. Thinner pieces will bake faster and be crunchier, while thicker squares may remain soft in the center.
- Baking Time Vigilance: Keep an eye on the oven! Bake until golden brown, as Cheez-Its can go from perfect to burnt quickly.
- Cooling is Key: Let them cool completely before serving. This allows them to crisp up nicely, making your effort to make irresistible homemade Cheez-Its in just 20 minutes truly worthwhile!
How to Store and Freeze Make Irresistible Homemade Cheez-Its in Just 20 Minutes
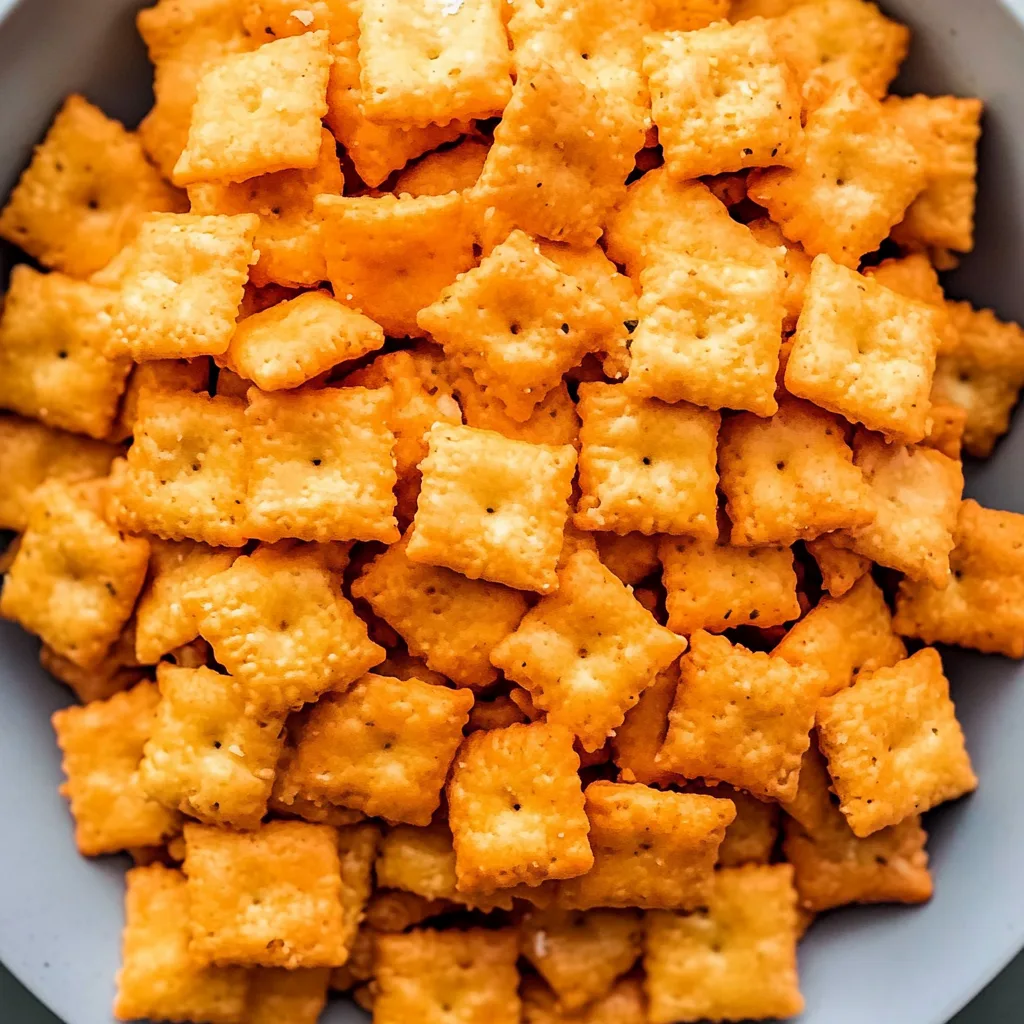
- Room Temperature: Store your homemade Cheez-Its in an airtight container for up to 3 days to keep them crispy and fresh.
- Fridge: If you prefer, you can refrigerate them for up to a week, but note they may lose some crunchiness.
- Freezer: For longer storage, freeze your Cheez-Its in a single layer on a baking sheet, then transfer to a freezer bag for up to 3 months.
- Reheating: To revive their crispiness, bake frozen Cheez-Its at 350°F (175°C) for about 5 minutes before enjoying your irresistible homemade Cheez-Its in just 20 minutes!
Make Irresistible Homemade Cheez-Its in Just 20 Minutes Your Way
Feel free to get creative and customize your homemade Cheez-Its to match your taste preferences!
- Spicy: Add 1/4 teaspoon cayenne pepper for a zesty kick. These fiery bites will take your snack game to new heights. Enjoy them with a cold drink for the perfect pairing.
- Herbed: Mix in 1 tablespoon of dried herbs like rosemary or thyme. This twist will elevate the flavor profile, giving your Cheez-Its an aromatic touch that’s simply delightful.
- Smoky: Substitute smoked cheddar for sharp cheddar cheese. The smoky richness adds depth, making each bite a flavorful adventure that’s hard to resist.
- Gluten-Free: Use a gluten-free all-purpose flour blend instead of regular flour. Your Cheez-Its will still be crunchy and delicious, ensuring everyone can enjoy this tasty treat without worry.
- Cheesy Blend: Try mixing in half mozzarella and half cheddar cheese. This combination creates a wonderfully gooey texture while maintaining that classic cheesy flavor we all love.
- Nutty: Incorporate 1/4 cup of finely ground almonds or cashews into the dough for added crunch and flavor. The nutty essence pairs beautifully with the cheese, offering a unique twist on this classic snack.
- Sweet & Savory: Add 1 tablespoon of honey or maple syrup to the dough for a subtle sweetness. This unexpected addition will delight your taste buds and create a fun contrast with the savory cheese.
- Baked Cheese Crisps: Roll the dough thinner before baking for crispier bites. These ultra-thin treats will be perfect for dipping or snacking on their own!
Make Ahead Options
If you’re looking to streamline your snacking options, this recipe is perfect for meal prep! You can easily prepare the Cheez-It dough ahead of time by combining 1 cup of shredded sharp cheddar cheese, 1/4 cup softened unsalted butter, 1 cup all-purpose flour, 1/2 teaspoon salt, and 1/4 teaspoon paprika in a mixing bowl. Mix until crumbly and gradually add water until it comes together into a dough. This dough can be stored in the refrigerator for up to 3 days. When you’re ready to enjoy your homemade Cheez-Its, simply roll out the dough on a floured surface to about 1/8 inch thick, cut into squares, and bake at 350°F (175°C) for just 10 minutes until golden brown. This way, you can make irresistible homemade Cheez-Its in just 20 minutes whenever the craving strikes!
Make Irresistible Homemade Cheez-Its in Just 20 Minutes Recipe FAQs
What type of cheese is best for making Cheez-Its?
Sharp cheddar cheese is ideal for these homemade Cheez-Its, as it delivers a rich, tangy flavor that truly makes them irresistible. If you want to experiment, you can try mixing in some pepper jack or gouda for an extra kick!
How should I store my homemade Cheez-Its?
To keep your Cheez-Its fresh and crunchy, store them in an airtight container at room temperature. They should last about a week, but let’s be honest—these little bites of joy are likely to disappear much faster!
Can I freeze the dough for later use?
Absolutely! If you’re feeling ambitious, you can prepare the dough ahead of time and freeze it. Wrap the formed dough tightly in plastic wrap and place it in a freezer-safe bag. When you’re ready to bake, just thaw it in the fridge overnight before rolling and cutting.
What if my dough is too crumbly?
If your dough isn’t coming together, don’t fret! It might need just a bit more water. Add it one tablespoon at a time until the dough becomes cohesive but not sticky. Aim for a crumbly texture that holds together when pressed.
Is there a gluten-free alternative for this recipe?
Definitely! You can substitute all-purpose flour with a 1: 1 gluten-free flour blend. Just make sure it contains xanthan gum to help bind the ingredients together effectively.
How many servings does this recipe yield?
This delightful recipe yields about 4 servings, with each serving containing approximately 150 calories. Perfect for sharing or keeping all to yourself during a cozy movie night!
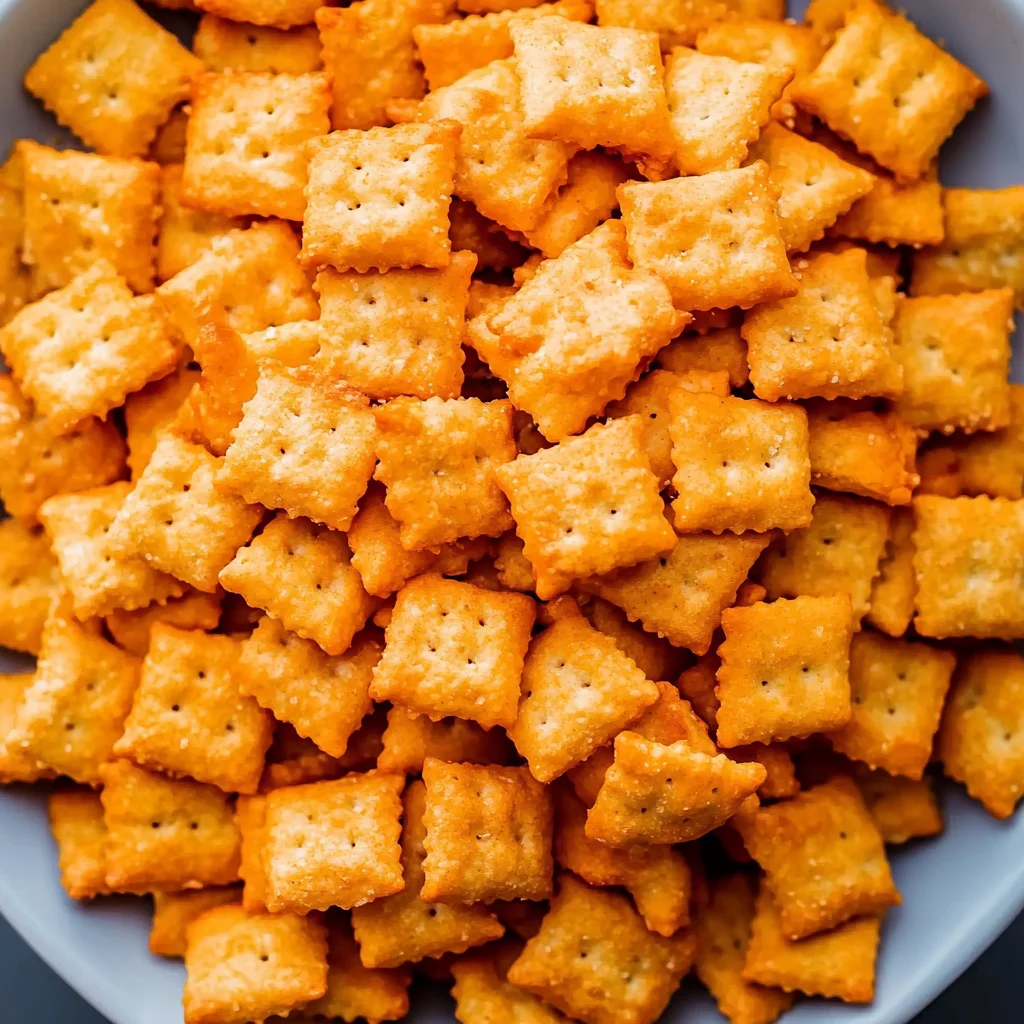
Homemade Cheez-Its
Ingredients
Method
- Preheat the oven to 350°F (175°C).
- In a mixing bowl, combine the shredded cheddar cheese, softened butter, all-purpose flour, salt, and paprika.
- Mix until the ingredients form a crumbly dough.
- Add water gradually until the dough comes together.
- Roll out the dough on a floured surface to about 1/8 inch thick.
- Cut into squares using a knife or pizza cutter.
- Place the squares on a baking sheet and bake for 10 minutes or until golden brown.
- Let cool before serving.