Imagine biting into a tangy, crunchy pickled mushroom that bursts with flavor, the perfect balance of savory and sour dancing on your palate. These delightful morsels are not just a treat for your taste buds; they bring back memories of summer picnics and family gatherings where every jar of homemade goodness was a prized possession, waiting to be devoured.
Picture yourself at a cozy gathering, surrounded by laughter and good food, as you offer up these pickled mushrooms (so easy) as an irresistible snack or condiment. The vibrant colors and enticing aromas will have everyone clamoring for more, turning any occasion into a celebration of bold flavors and shared experiences. Get ready to elevate your snacking game with this simple yet sensational recipe!
Why Will You Keep Making Pickled Mushrooms (So Easy)?
Simple preparation means you can whip these up in just 15 minutes! Flavor-packed with garlic and herbs, these pickled mushrooms are a savory delight. Versatile enough to be a snack, topping, or side dish, they complement any meal. Plus, they store well, making them a perfect make-ahead option for gatherings!
Pickled Mushrooms (So Easy) Ingredients
- For the Mushrooms
- 1 pound Mushrooms (Cleaned and trimmed) – Choose fresh, firm mushrooms for the best flavor and texture in your pickling experience.
- For the Pickling Liquid
- 1 cup Vinegar (White or apple cider) – This adds the tangy base for your pickled mushrooms; apple cider gives a sweeter note.
- 1 cup Water – Balances the acidity of the vinegar for a perfect brine.
- 2 tablespoons Salt (Kosher or sea salt) – Essential for preserving and enhancing the mushrooms’ natural flavors.
- 1 tablespoon Sugar (Optional) – Adds a touch of sweetness to balance the tartness; adjust to taste.
- 2 cloves Garlic (Crushed) – Infuses wonderful aroma and depth into the pickling liquid.
- 1 teaspoon Peppercorns – Provides a mild spiciness that complements the tangy mushrooms beautifully.
- 1 teaspoon Dried herbs (Thyme or oregano) – Adds an herbal note that enhances the overall flavor profile of your Pickled Mushrooms (So Easy).
Step-by-Step Pickled Mushrooms (So Easy)
1. Clean the mushrooms.
Start by gently wiping down 1 pound of cleaned and trimmed mushrooms with a damp cloth. This helps remove any dirt while preserving their delicate texture.
2. Combine the pickling liquid.
In a pot, mix together 1 cup of vinegar (white or apple cider), 1 cup of water, 2 tablespoons of kosher or sea salt, and 1 tablespoon of sugar (if you like a hint of sweetness). Add in 2 crushed cloves of garlic, 1 teaspoon of peppercorns, and 1 teaspoon of dried herbs like thyme or oregano. Bring this mixture to a gentle boil over medium heat.
3. Simmer the mushrooms.
Once your pickling liquid reaches a boil, add in the cleaned mushrooms. Allow them to simmer for about 5 minutes, letting them soak up all those wonderful flavors until they become tender.
4. Transfer to a jar.
Carefully move the mushrooms along with the pickling liquid into a clean jar. Let it cool for a bit before sealing it tightly; this will trap in all the deliciousness!
Optional: Serve with fresh herbs for an extra touch!
Exact quantities are listed in the recipe card below.
Expert Tips
- Mushroom Selection: Use fresh, firm mushrooms for the best texture. Avoid any that are slimy or have dark spots.
- Pickling Liquid Balance: Adjust sugar based on your taste preference; omitting it will yield a more savory pickle, while adding it enhances sweetness in your Pickled Mushrooms (So Easy).
- Simmer Time: Don’t over-simmer the mushrooms—5 minutes is ideal. Overcooking can make them mushy and less enjoyable.
- Cooling Process: Allow the mushrooms to cool completely before sealing the jar. This helps preserve their texture and flavor.
- Storage Tips: Store in the refrigerator for up to two weeks. Always ensure the mushrooms are submerged in the liquid to prevent spoilage.
How to Store and Freeze Pickled Mushrooms (So Easy)
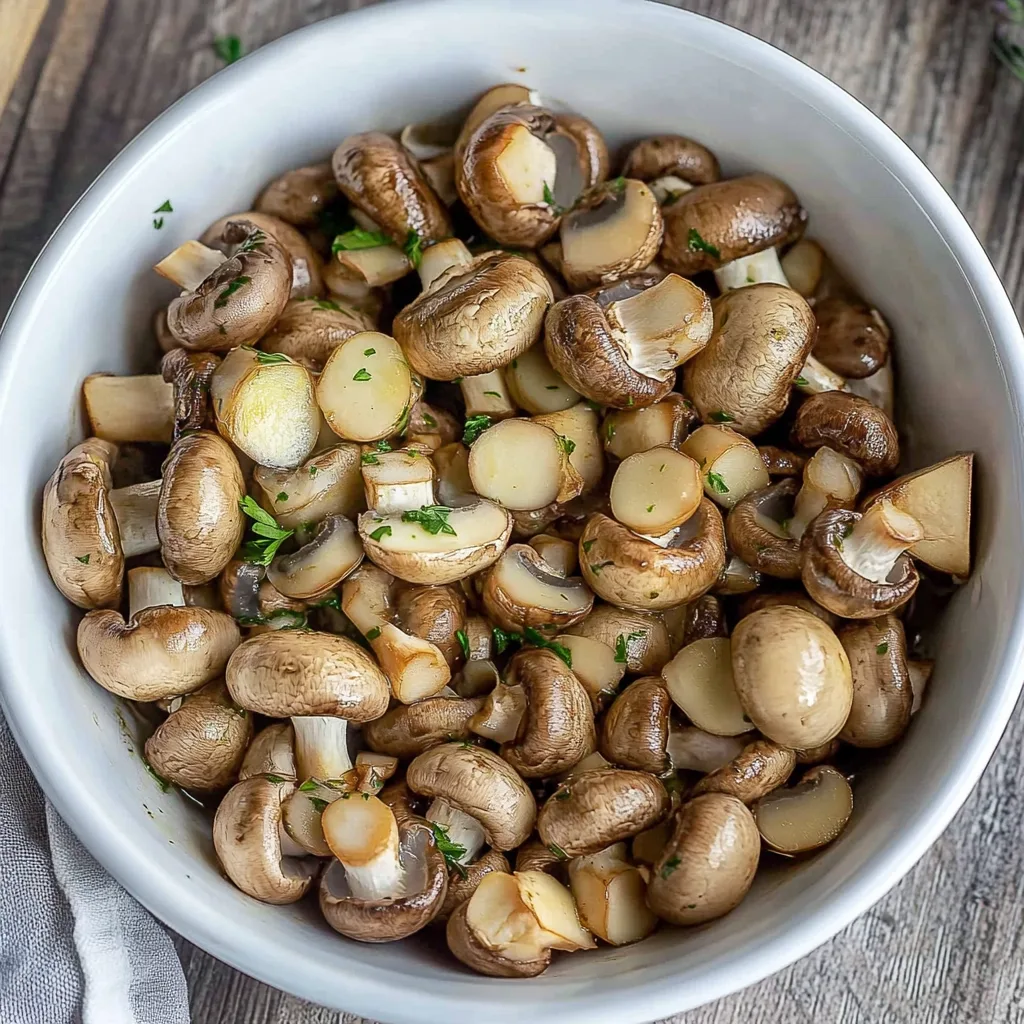
- Fridge: Store your Pickled Mushrooms (So Easy) in an airtight container in the fridge. They’ll stay fresh for up to 2 weeks, developing more flavor over time.
- Freezer: While not ideal for freezing due to texture changes, if you must, freeze them in a freezer-safe bag. They can last up to 3 months but will lose their crunch.
- Room Temperature: Avoid leaving pickled mushrooms at room temperature for longer than a couple of hours, as they are best enjoyed chilled and can spoil quickly.
- Reheating: If you prefer them warm, gently heat the mushrooms on the stovetop for a few minutes. Enjoy them as a savory snack or condiment!
Pickled Mushrooms (So Easy) Your Way
Feel free to get creative with this recipe and personalize it to suit your taste buds!
- Cremini or Shiitake: Swap out standard mushrooms for these flavorful varieties to add depth. Cremini mushrooms can bring a nutty richness, while shiitakes offer an earthy punch that elevates the dish.
- Balsamic Vinegar: Use balsamic instead of white or apple cider vinegar for a sweeter, more complex flavor. The dark color will create a beautiful contrast, making these pickled delights as visually appealing as they are tasty.
- Spicy Kick: Add red pepper flakes or fresh sliced jalapeños to the pickling liquid for a zesty twist. This will introduce delightful heat, perfect for those who enjoy a spicy snack or condiment!
- Herb Infusion: Experiment with different dried herbs like dill or rosemary in place of thyme or oregano. Each herb brings its own unique aroma and flavor profile that can transform the mushrooms into a gourmet treat.
- Honey Substitute: Replace sugar with honey for a natural sweetness that complements the tanginess of the vinegar. It’ll give your pickles a lovely glaze and a hint of floral notes.
- Onion Addition: Toss in thinly sliced red onion along with the mushrooms in the pickling jar for added crunch and sweetness. The onion will absorb the brine beautifully, creating an amazing combination of flavors.
- Citrus Zing: Add slices of lemon or lime to the pickling liquid for a bright, zesty finish. The citrus will enhance the overall freshness and make every bite burst with flavor.
Make Ahead Options
Preparing Pickled Mushrooms (So Easy) is a fantastic choice for meal prep, as these little flavor-packed gems only get better with time! You can clean and trim the mushrooms up to 24 hours in advance, ensuring they’re ready to go when you are. Additionally, the pickling liquid can be prepared ahead of time; simply combine 1 cup of vinegar, 1 cup of water, 2 tablespoons of salt, and the rest of your ingredients in a pot to bring to a boil. Once you’ve simmered the mushrooms for 5 minutes, transfer them along with the liquid to a jar and let cool before sealing—this can all be done up to 3 days in advance. To maintain their delightful crunch and vibrant flavor, store them in the refrigerator. When you’re ready to serve your Pickled Mushrooms (So Easy), just take them out and enjoy as a snack or condiment!
Pickled Mushrooms (So Easy) Recipe FAQs
What type of mushrooms work best for pickling?
While you can technically use any mushroom, button mushrooms are the most common choice due to their mild flavor and firm texture. If you want a bit more character, try shiitake or oyster mushrooms! Just remember to clean and trim them well, as this ensures they soak up all that delicious pickling liquid.
Can I use different types of vinegar for the pickling liquid?
Absolutely! While white vinegar provides a crisp taste, apple cider vinegar adds a hint of sweetness and depth. You could even experiment with red wine vinegar for richer flavor. Just stick to the 1: 1 ratio with water, and you’re golden!
How long do the pickled mushrooms last in the fridge?
Once sealed in an airtight jar, your lovely pickled mushrooms will stay fresh in the fridge for about 2 weeks. Just be sure to keep them submerged in the pickling liquid for maximum flavor and freshness!
Can I freeze pickled mushrooms?
Freezing isn’t recommended for pickled mushrooms, as it can change their texture, making them mushy when thawed. Instead, enjoy them fresh from the fridge within those two weeks; they taste best when enjoyed right after pickling!
What should I serve with my pickled mushrooms?
These tangy little treats are delightful on charcuterie boards or served alongside grilled meats and veggies. You could also toss them into salads for an extra burst of flavor or use them as a topping on sandwiches or burgers!
Is it possible to adjust the salt or sugar levels in the recipe?
Definitely! If you’re watching your sodium intake, you can reduce the salt to 1 tablespoon without compromising too much on flavor. Similarly, if you prefer less sweetness, feel free to skip the sugar entirely—the garlic and herbs will still provide plenty of taste!
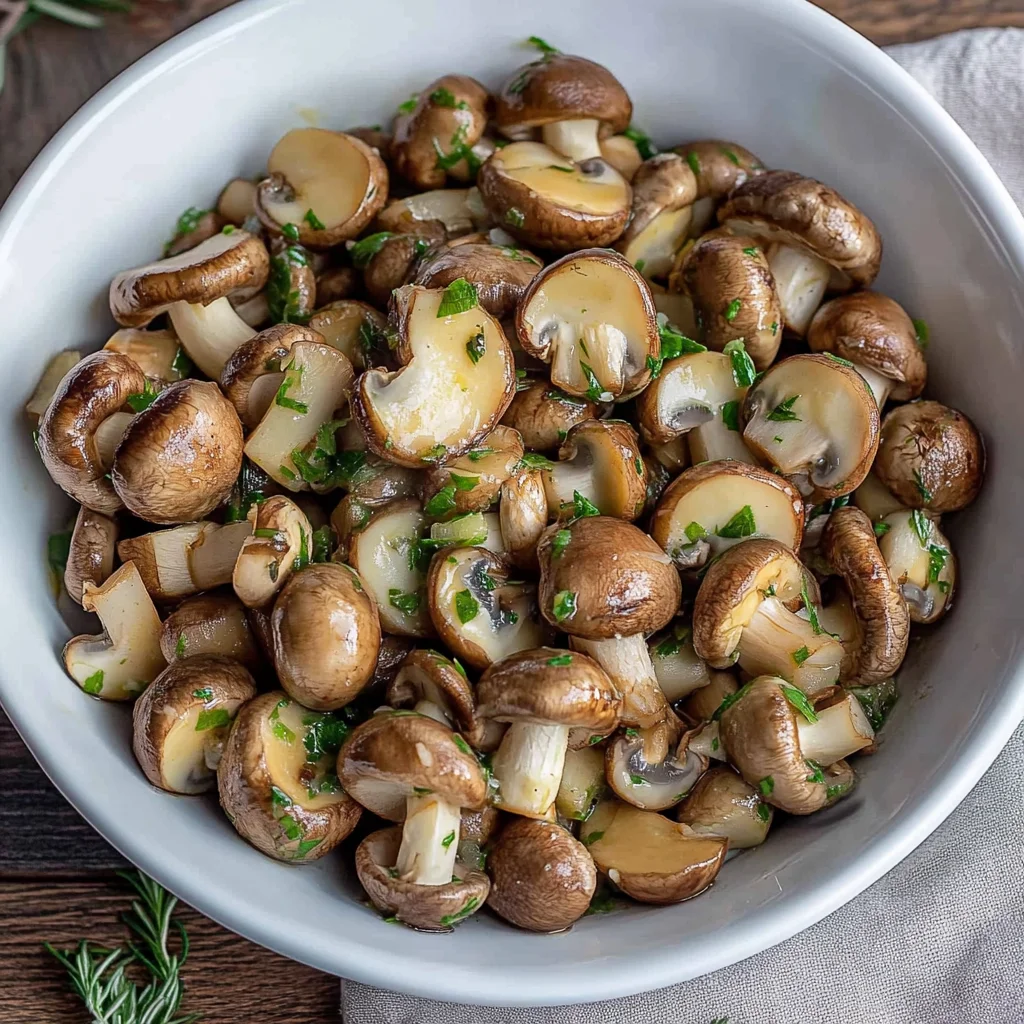
Pickled Mushrooms
Ingredients
Method
- Clean and trim the mushrooms.
- In a pot, combine vinegar, water, salt, sugar, garlic, peppercorns, and herbs. Bring to a boil.
- Add the mushrooms to the boiling pickling liquid and simmer for 5 minutes.
- Transfer the mushrooms and liquid to a jar and let cool before sealing.